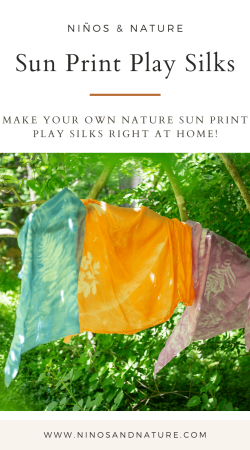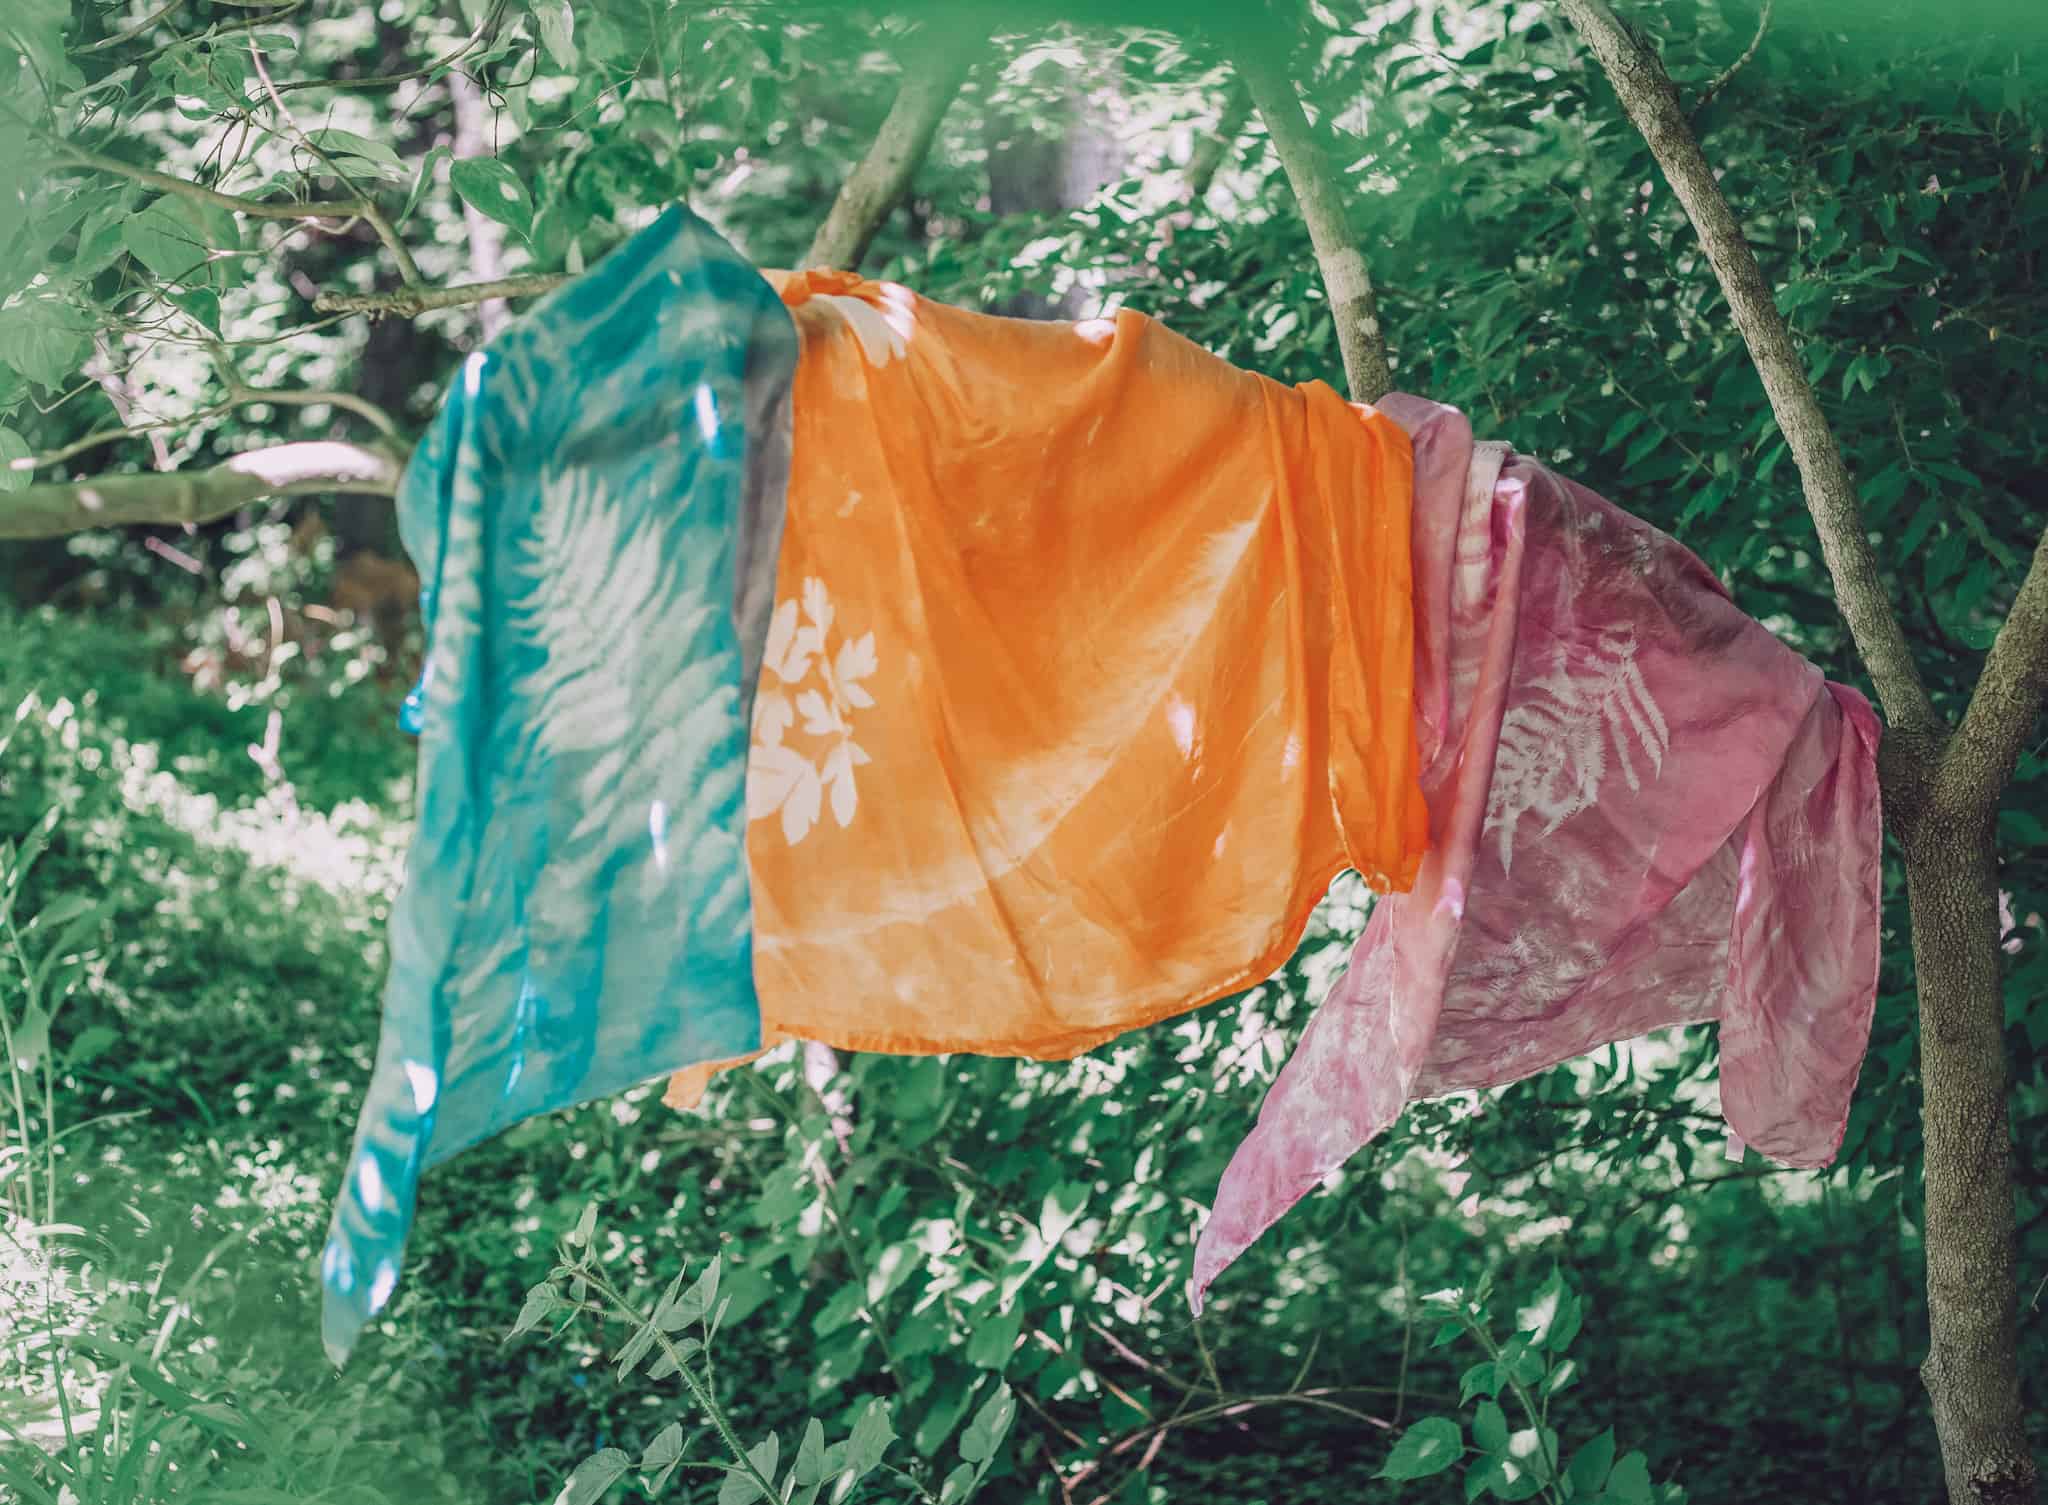
Beautiful DIY Sun Print Play Silks | Nature Inspired Toys
In this post: How to make your own sun print play silks at home.
This post contains affiliate links for your convenience. This means I may earn a commission if you shop through the links on this page. Thank you for supporting my blog.
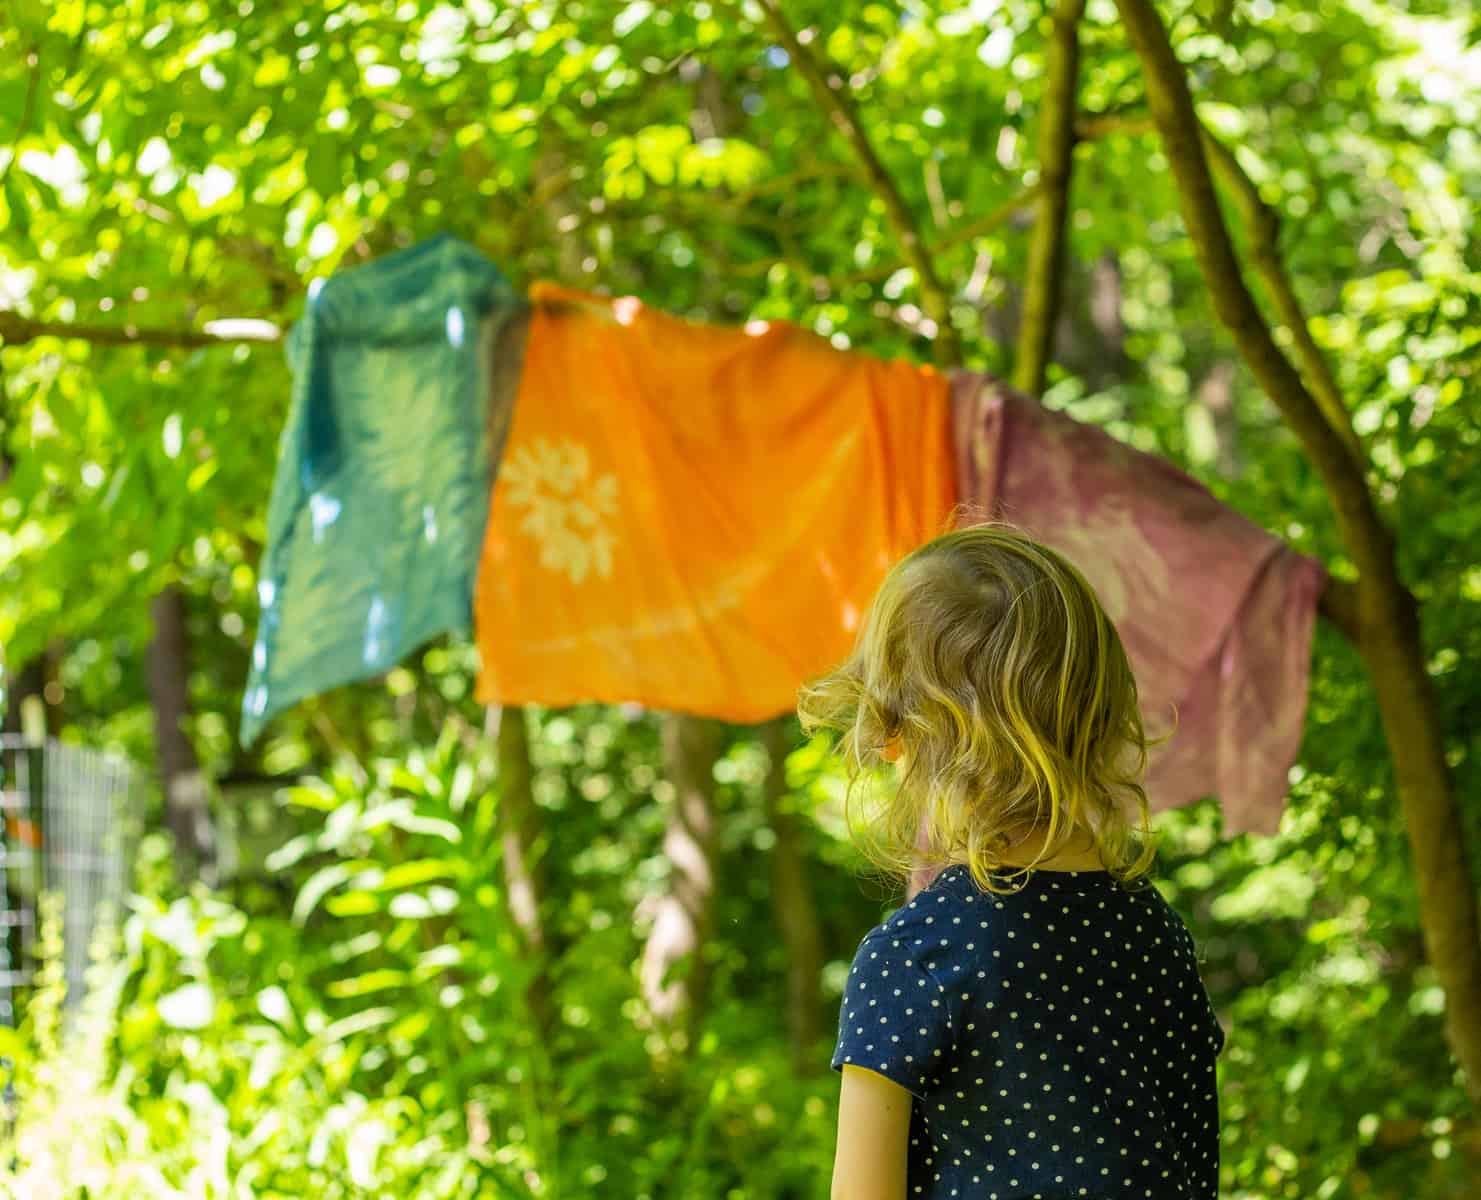
I will never forget the image of my six month old twins giggling on the soft grass outside one spring morning as I floated a playsilk over their heads for almost an hour. They were completely captivated by the way it danced in the wind, the way the sun shone through, and the soft feeling of it landing gently on their cheeks. Time seemed to stop and all that existed in that moment was the soft cloth blowing in the breeze and the sound of my childrens’ laughter. Ever since, my kids have been enamored with playsilks. They have become an integral part of their childhood, whether they are using them for imaginative play, dress-up, or just floating them above their heads as they did when they were babies. The possibilities are endless with a playsilk in hand, and my children are showing me day after day just how magical they can be.
When I noticed that many of my daughters’ play silks were wearing thin, I decided it was time to make some of my own with a special nature twist. I have always loved sun printing and will never tire of that magic moment when you rinse the fabric and see the end result. This project is an amazing way to experiment with sun printing at home while creating a meaningful gift inspired by nature that will be well loved by your little one.
If you have never done any solar printing before, get ready for a treat! The most important aspects to remember are that direct sunlight will expose the ink quickly and indirect sunlight will slowly expose it. You will want a dark space with very little light to prepare your fabric. You don’t need a dark room but can create your own dark space with curtains and closed doors.
This would be a great project to do with your older children but I suggest handling the dyes and putting it on the silks yourself and then your kiddos can help arrange their nature finds! Or you can make these all by yourself and surprise your children with them when they are all done.
What will you need:
- White play silks
- Sun print cyanotype dye
- Natural materials
- Cardboard/wood for backing


For the sun printed silk scarves, you will want to put the dye on your scarf while dry and then expose it to the sunlight while it is still wet with dye. It is best to work with just one color at a time so you don’t get any color mixing or bleeding (unless that is what you are doing for!)
Using gloves, add the dye to your silk scarf. There are two ways of doing this: you can apply the dye to a sponge and then rub it all over your silk, or you can apply it directly to the silk and then use your hands to rub it into the silk. I like using a mix of both methods! You want to make sure you cover every part of the silk and really work the dye into the fabric.
Once it is all covered (edges too!) you can carefully lay it out on your cardboard or wood backing. I actually just placed a large plastic bag over a piece of wood that I had and the silk stuck nicely when wet to that, which made it easy to work with. Lay out your silk completely flat, no wrinkles, and begin arranging your natural items. For large items you can use small pins to keep them in place. Some people also place glass over their designs to keep it in place but I just avoid doing this on windy days and have never had a problem. Now you’re ready to head outside!
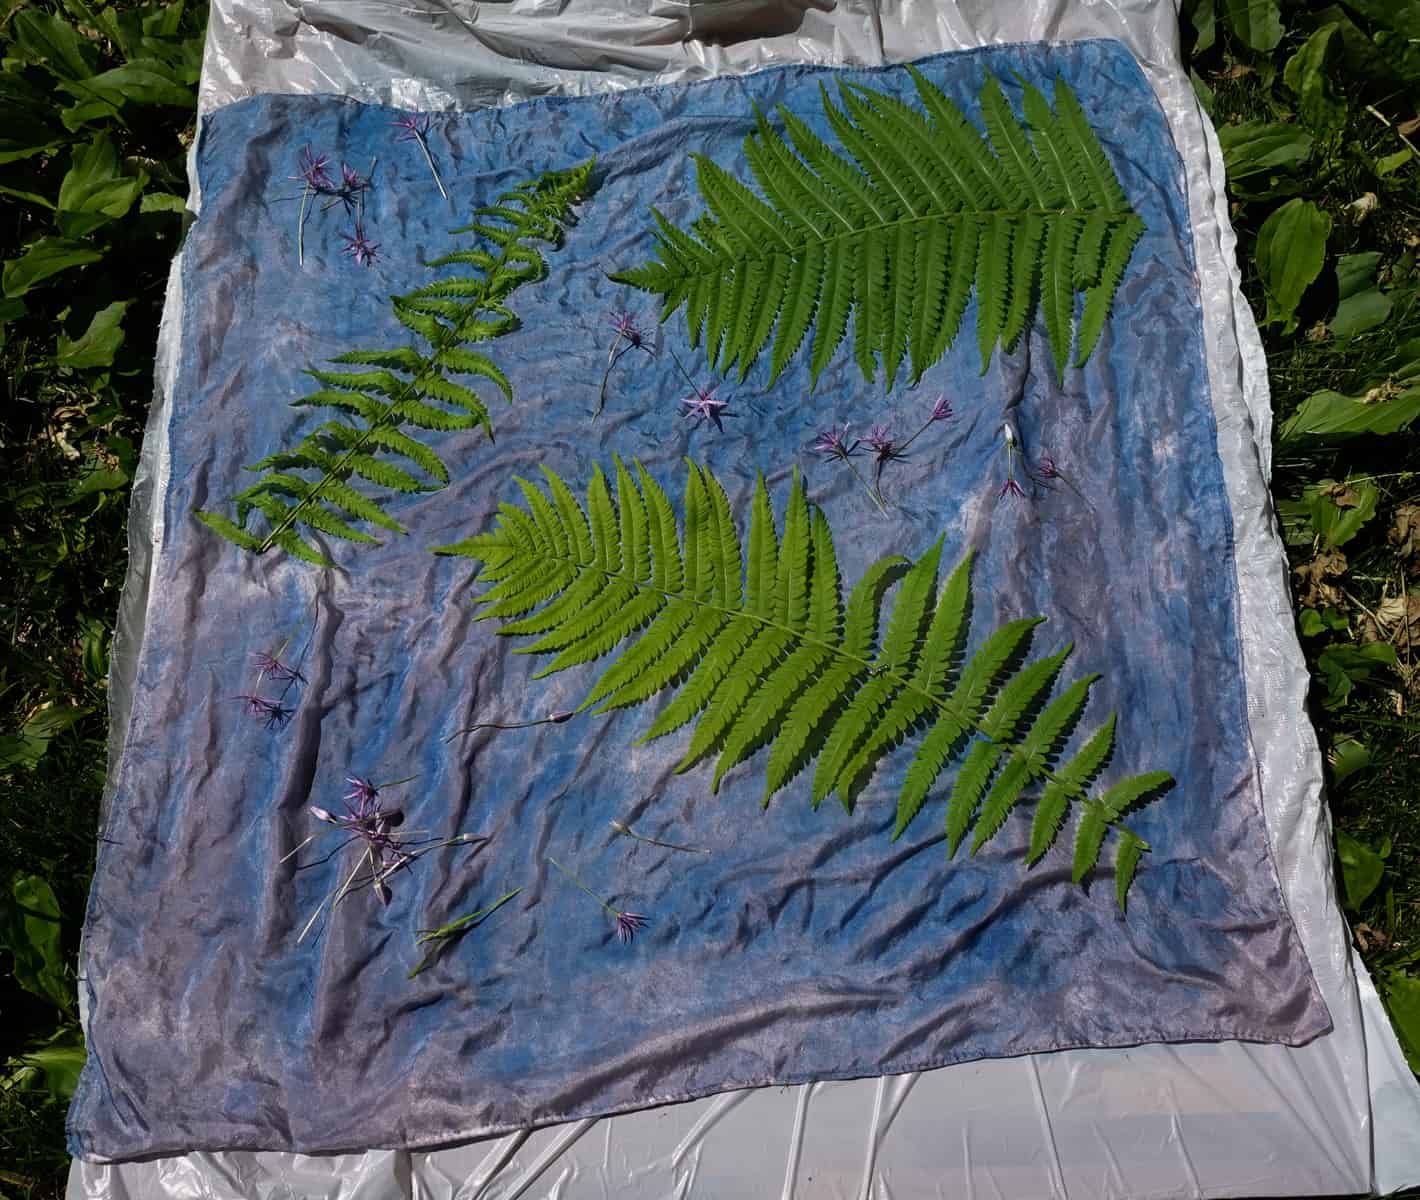
Now is the magic moment! Once your nature items are all arranged, you can take your silk out into direct sunlight to expose. You will see the color slowly shift as it exposes – follow the directions for your specific dye. Mine suggests 10-20 minutes and I let it go for the full amount of time. It is so much fun watching the silk change color!
Rinsing your silks is the final step for sealing in the dye and the shadow of your beautiful nature prints! Many directions will say to rinse your fabric in hot water but be wary when washing silk – it can shrink! I didn’t have any problems with my silks shrinking but be mindful any time you are using new fabrics.
If your dye kit comes with a color fast soap, use a small amount as you submerge your silk in water. You will want to rinse this for several minutes – keep it submerged with water running and continue to move it all around to rinse the dye out of the fabric. You can have gloves on for this if you wish to protect your skin.
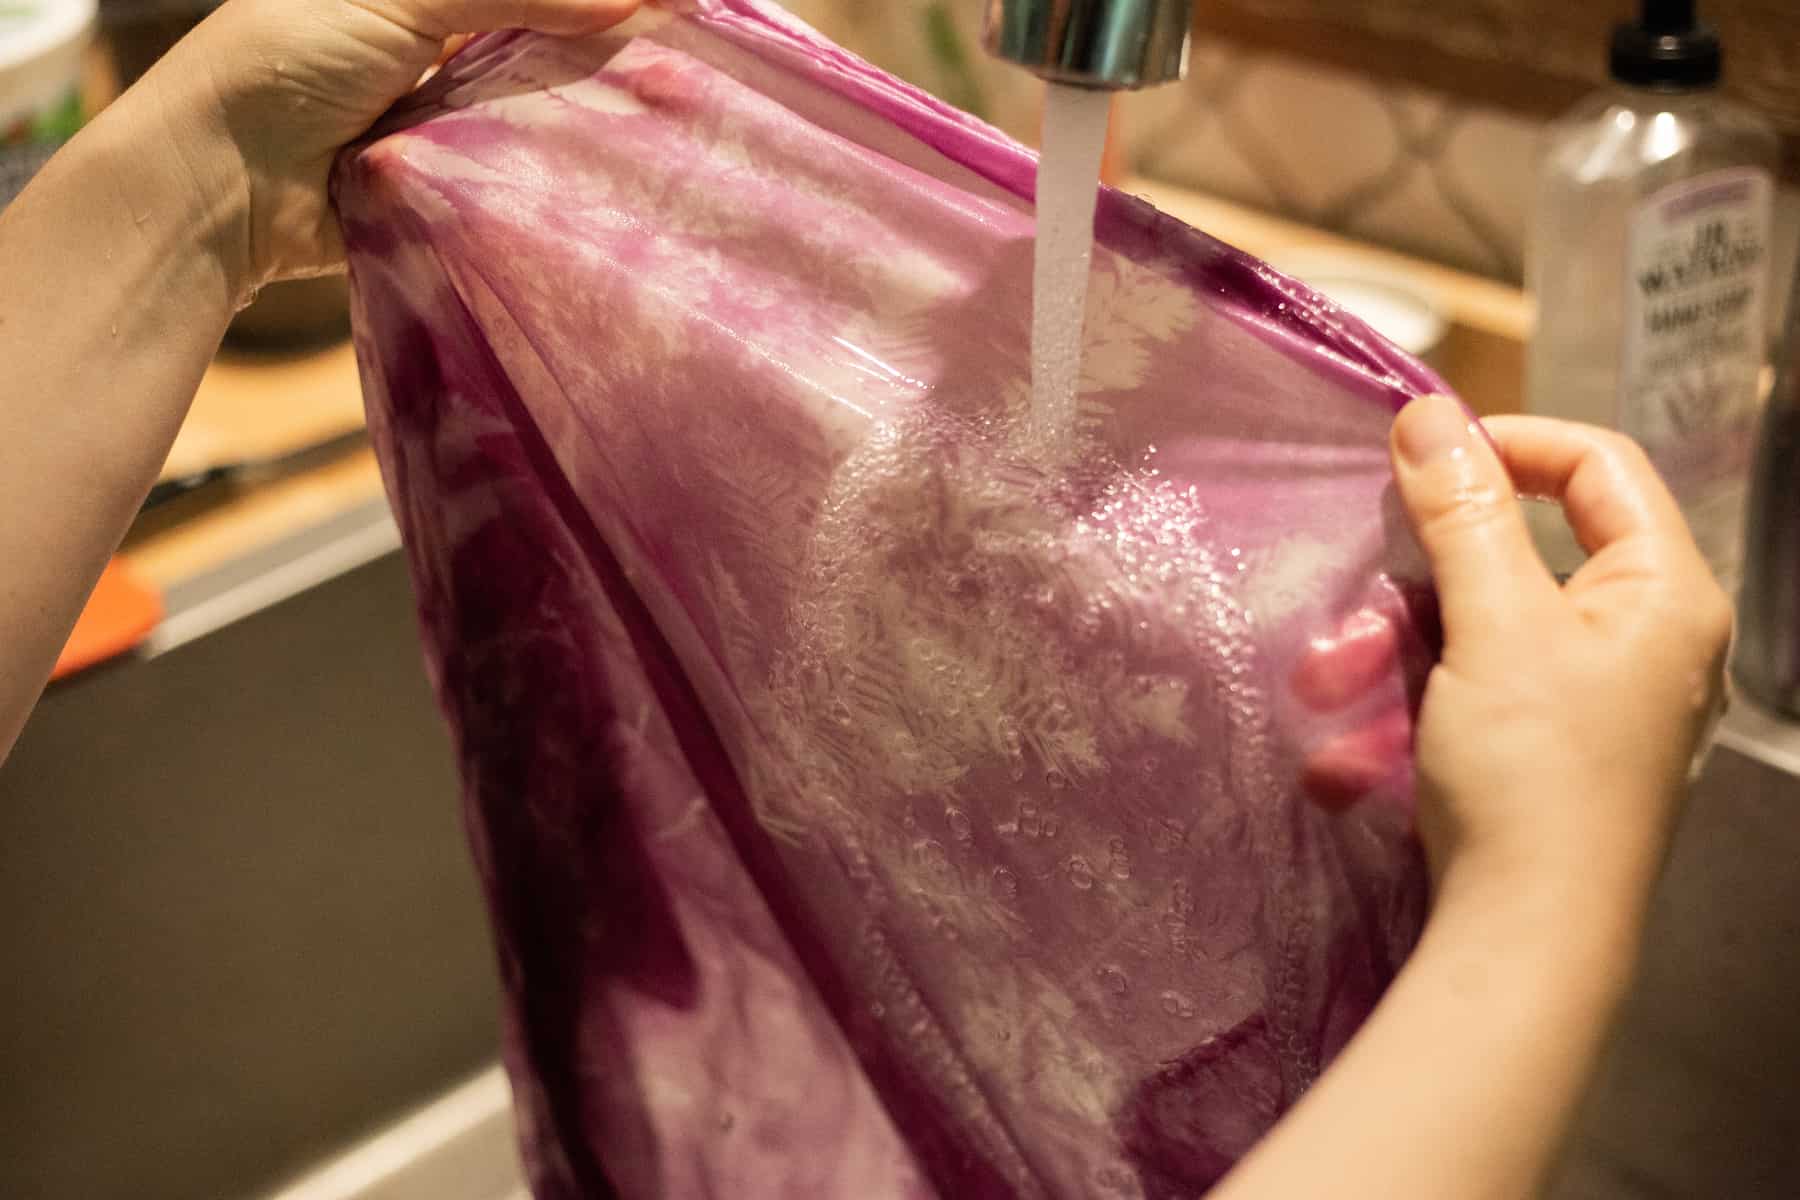
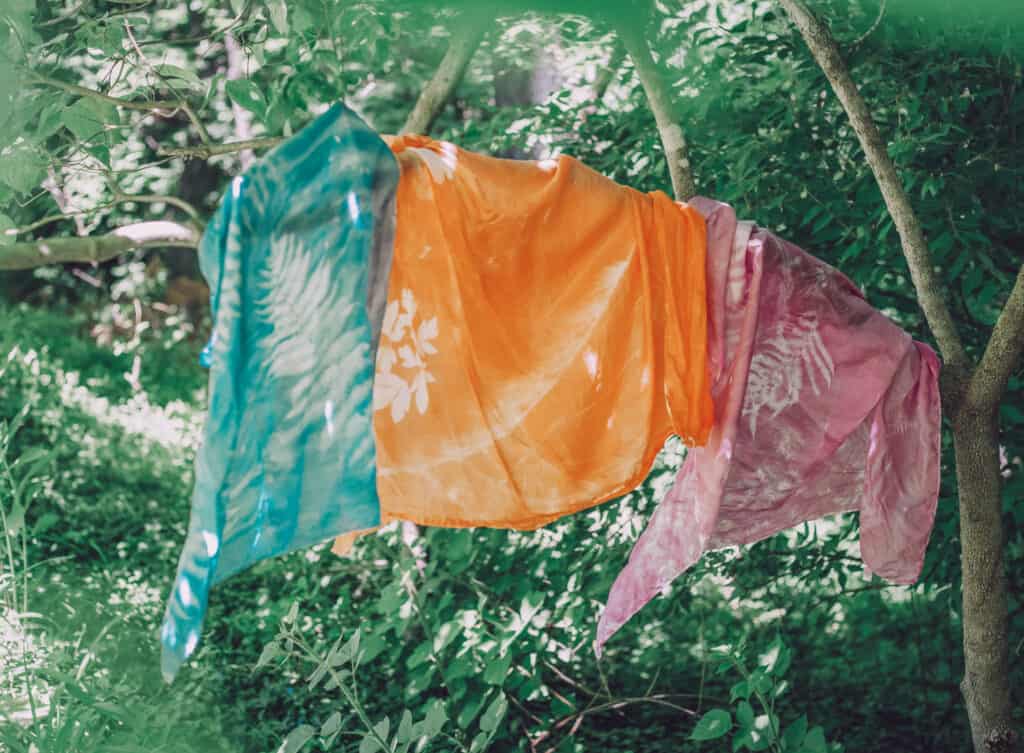
After a few minutes of rinsing you can add a little bit of a mild laundry detergent to finish cleaning it and get it ready for play. Once the water runs clear, there are no more bubbles and you feel like all the dye has been rinsed clean, it is ready to hang!
Hang your silk out of direct sunlight to fully dry. Let your little ones play and enjoy or hang it in your home to create a beautiful, nature inspired decoration.
