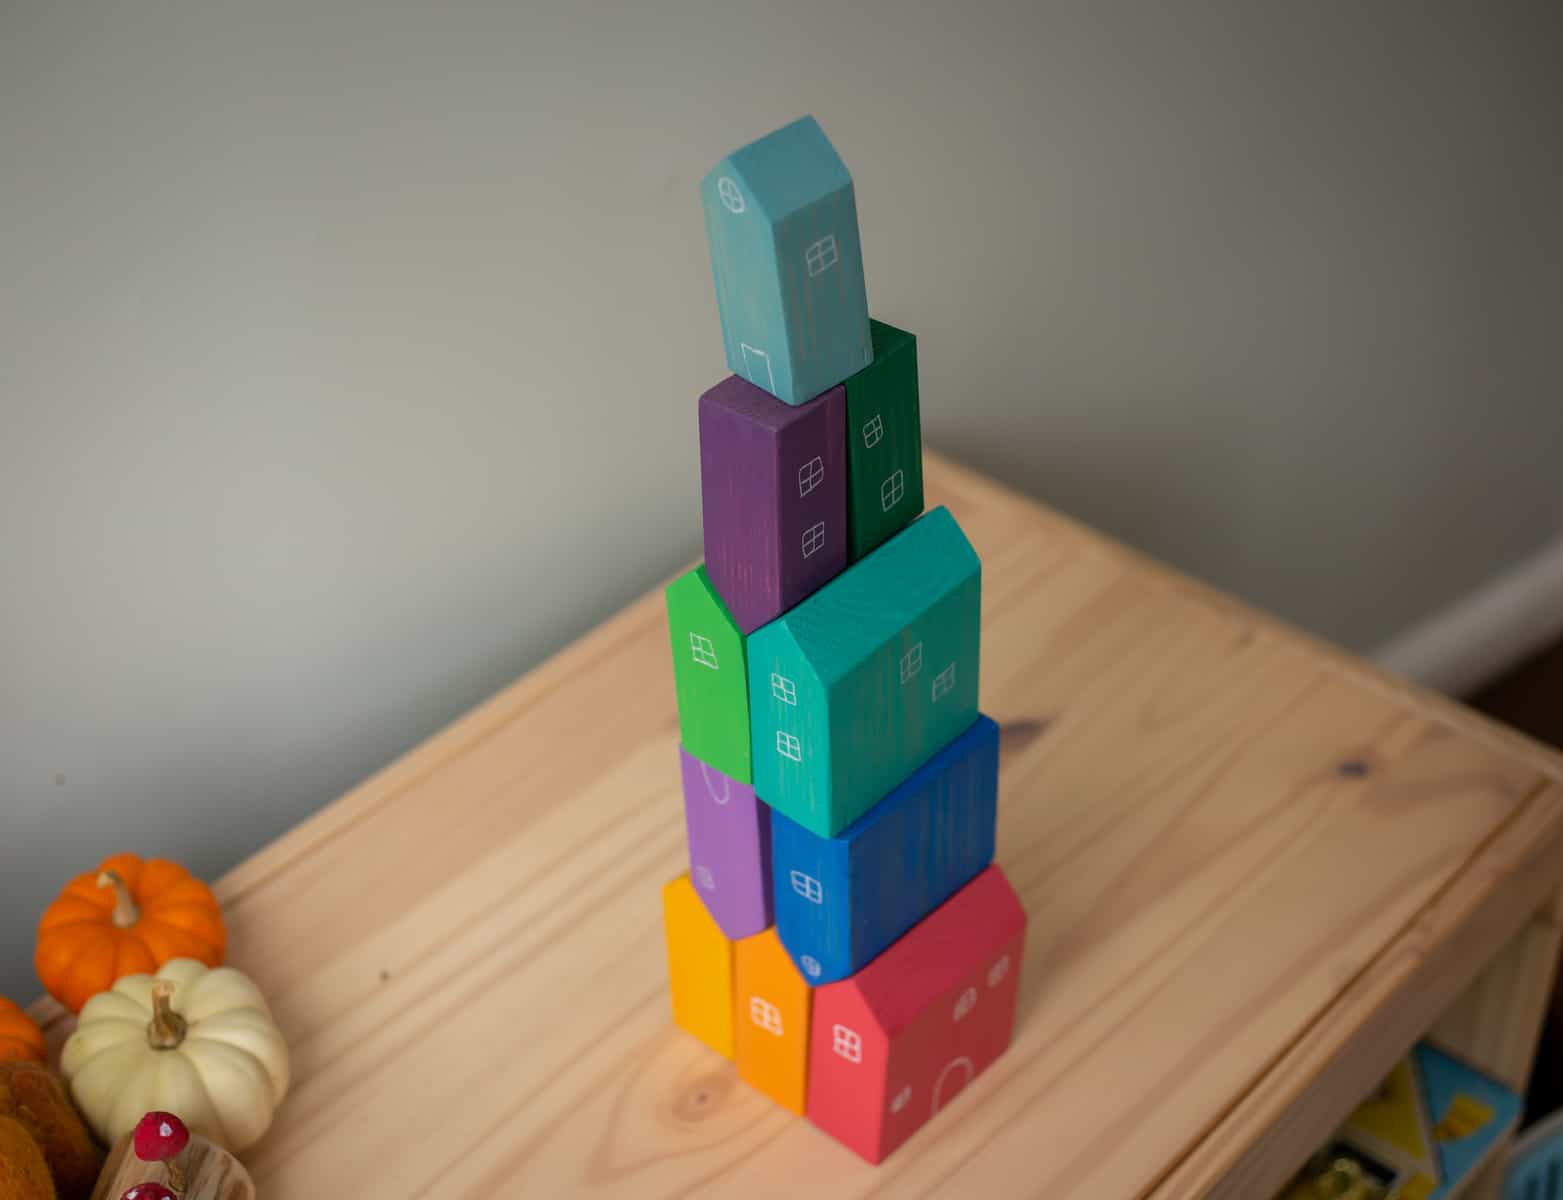

In this post: Learn how to make your own Grimm’s inspired house stacking blocks! Save money while you make your own wooden toys with this free tutorial. Read more for tips on how to use your handmade toys to your advantage for teaching your kids Spanish at home! Post contains affiliate links for your convenience.
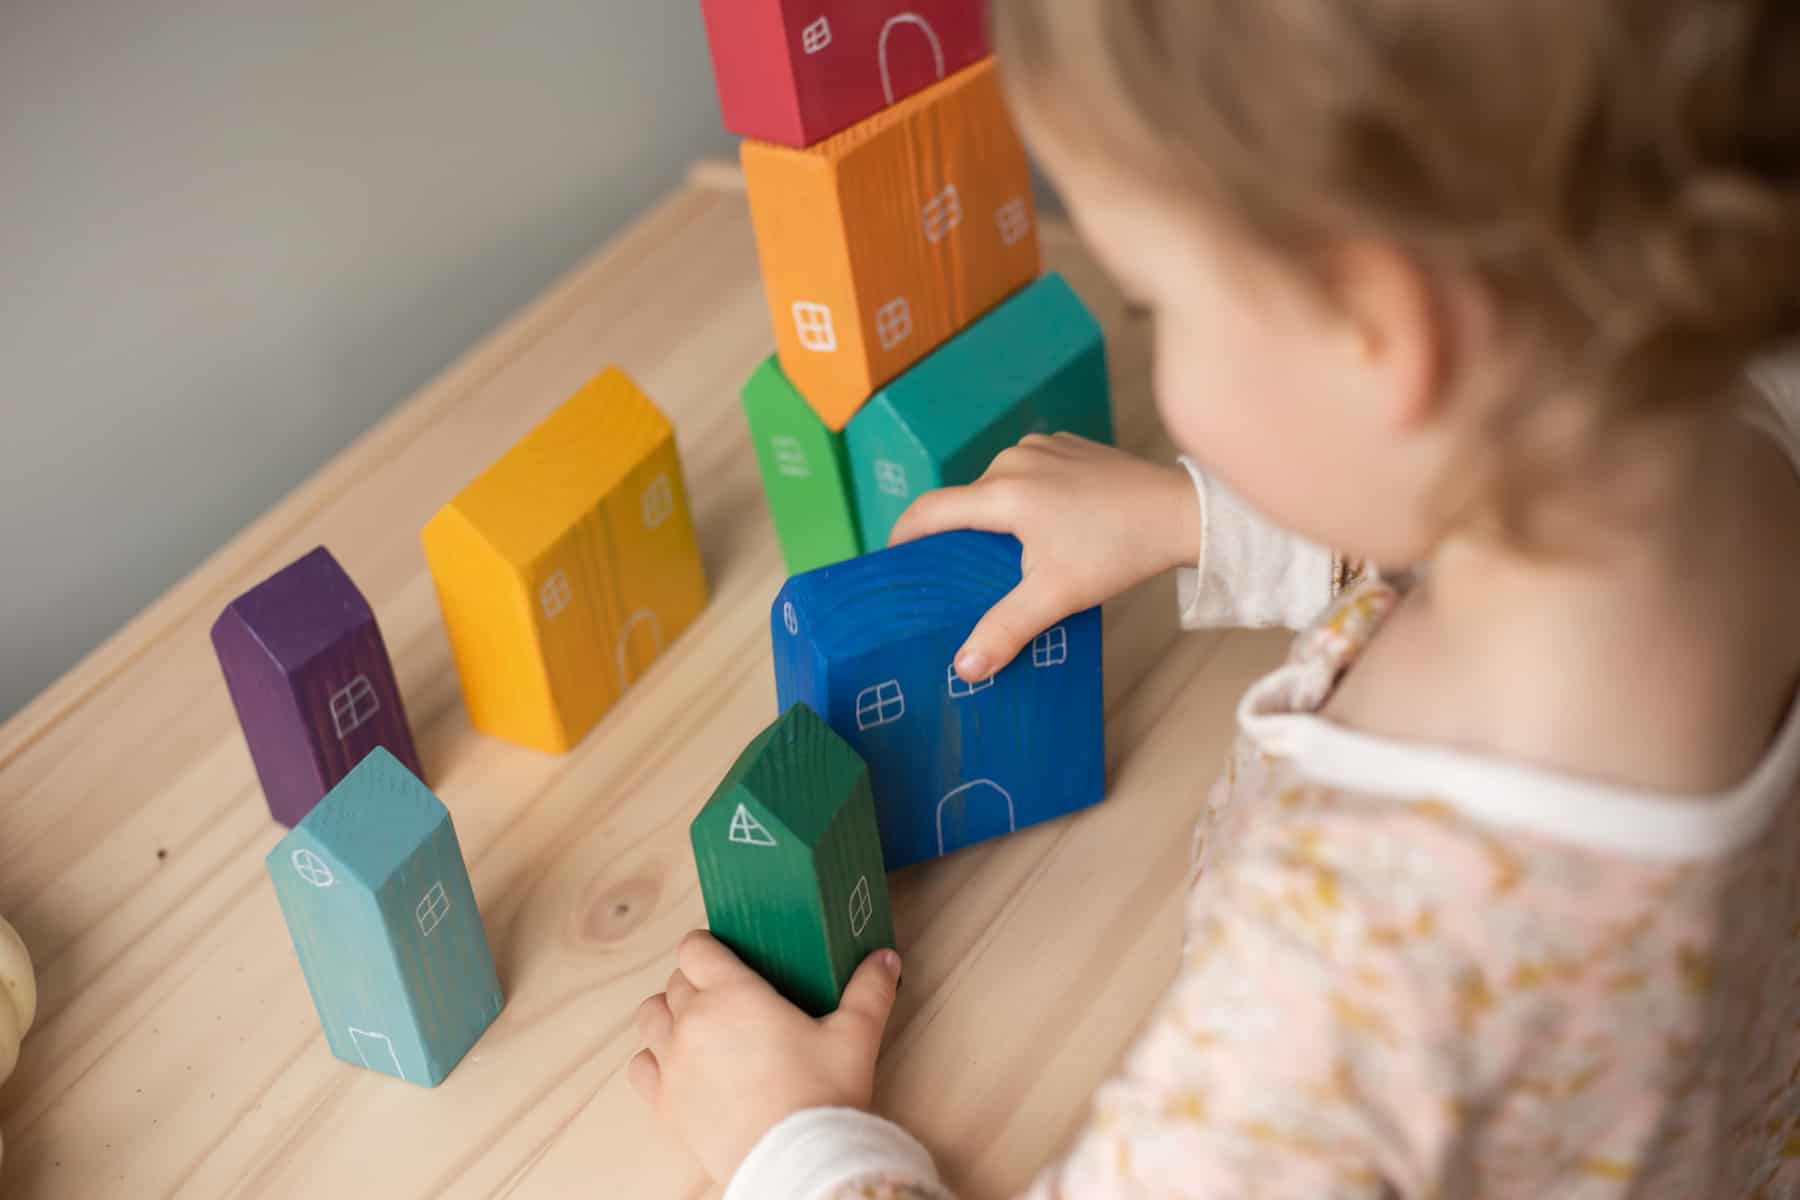
Am I the only parent who loves the look of Grimm’s wooden blocks, but can’t handle the price tag? I found myself constantly going to small shops with beautiful wooden toys, filling my cart with amazing imaginary play items, and then quickly ditching the whole idea when I saw the price tag. I just couldn’t do it! So, instead of feeling disappointed, or upset, I decided to take action. I began to make my own wooden toys at home, as a complete beginner.
Want to know what my very first project was as a beginning woodworker? These Grimm’s inspired house stacking blocks! I had never used a powertool before, aside from a drill, but I was determined to figure out how to make my own blocks. Not only did I want beautiful, non-toxic toys for my toddlers, but I also wanted to create toys that would work to my advantage in our bilingual home. I wanted wooden toys that inspired language development, creativity, and imagination. These little casita blocks are the perfect way to bring Spanish learning into your playtime at home.
And so, familias, let me walk you through how to make your very own Grimm’s inspired house stacking blocks! This is a great woodworking project for beginners and is an awesome way to learn how to paint wooden toys in a Grimm’s style.
To get started, make sure you sand your boards really well before you cut. This is where a power sander comes in handy and will save you so much time, but you can also sand it by hand if you wish.
When your boards are nice and smooth, it’s time to cut your blocks! You are cutting the roofline first; the board will need to be flipped up on the narrow side to cut it safely. To get these as uniform as possible, measure 1” from the top of the board and draw a straight line across using your carpenter square or ruler. This will help you cut an even roofline.
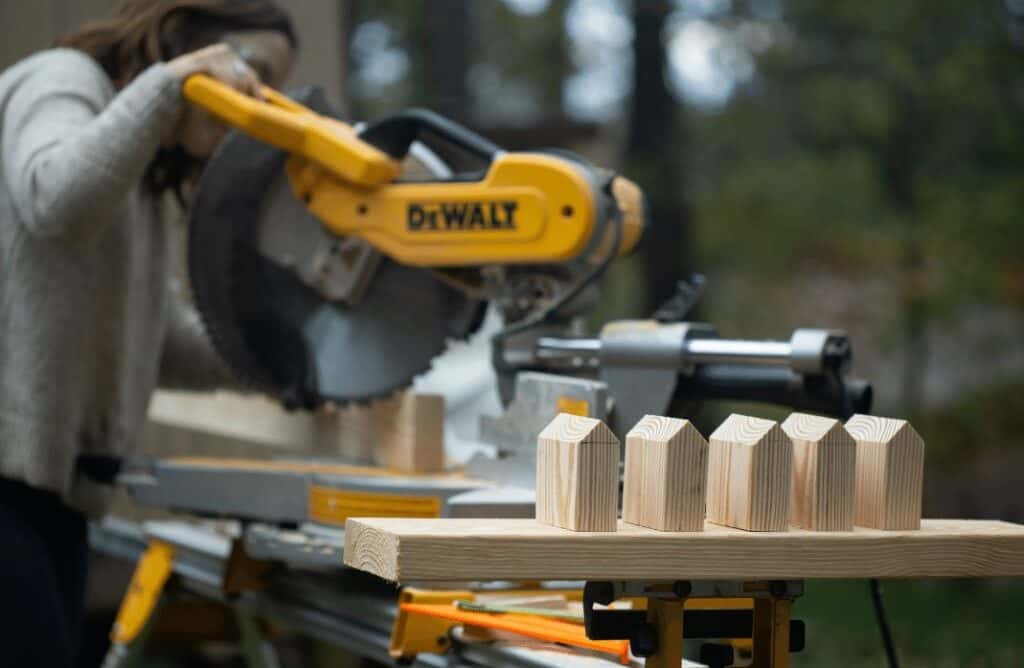
Shift your saw blade to the left side at 45° and place your board firmly against the backplate of the saw. Without turning it on, lower your blade until it lines up with the 1” line you drew earlier. Now, it’s time for the leap of faith! Make your first cut, forming half of your roof.
Leaving the board where it is, shift your saw blade to 45° on the right, line it up with your 1” line before cutting and then make your second cut. This will form your roof!
Now you can lay your board flat and measure 3” from the base of your roof. Shift your saw back to the middle at 0°, line up your blade with the 3” line and cut your first little casa block free!
Keep going in this way, one at a time, until you have all the blocks you want. We did 7 stacking house blocks with the 2×4 and 3 house blocks with the 2×2.
Time to sand! You will want to sand all sides of these blocks really well, especially the sides that were just cut. I also sand the top point of the roof line a little just so there are smooth edges all around for little hands.
Now it’s time to add some color. Painting DIY wooden toys can be a little tricky but I found the absolute best way to do it! I wanted a bolder color but also wanted to be able to see the wood grain so I actually painted on the acrylic paint and then instantly wiped it off while it was still wet. Painting your DIY wooden blocks this way will give you a beautiful color while still showing some of the wood grain, a classic look of Grimm’s blocks. Always make sure you test the paint on a scrap piece before you paint on all your blocks. Set aside to dry fully overnight.
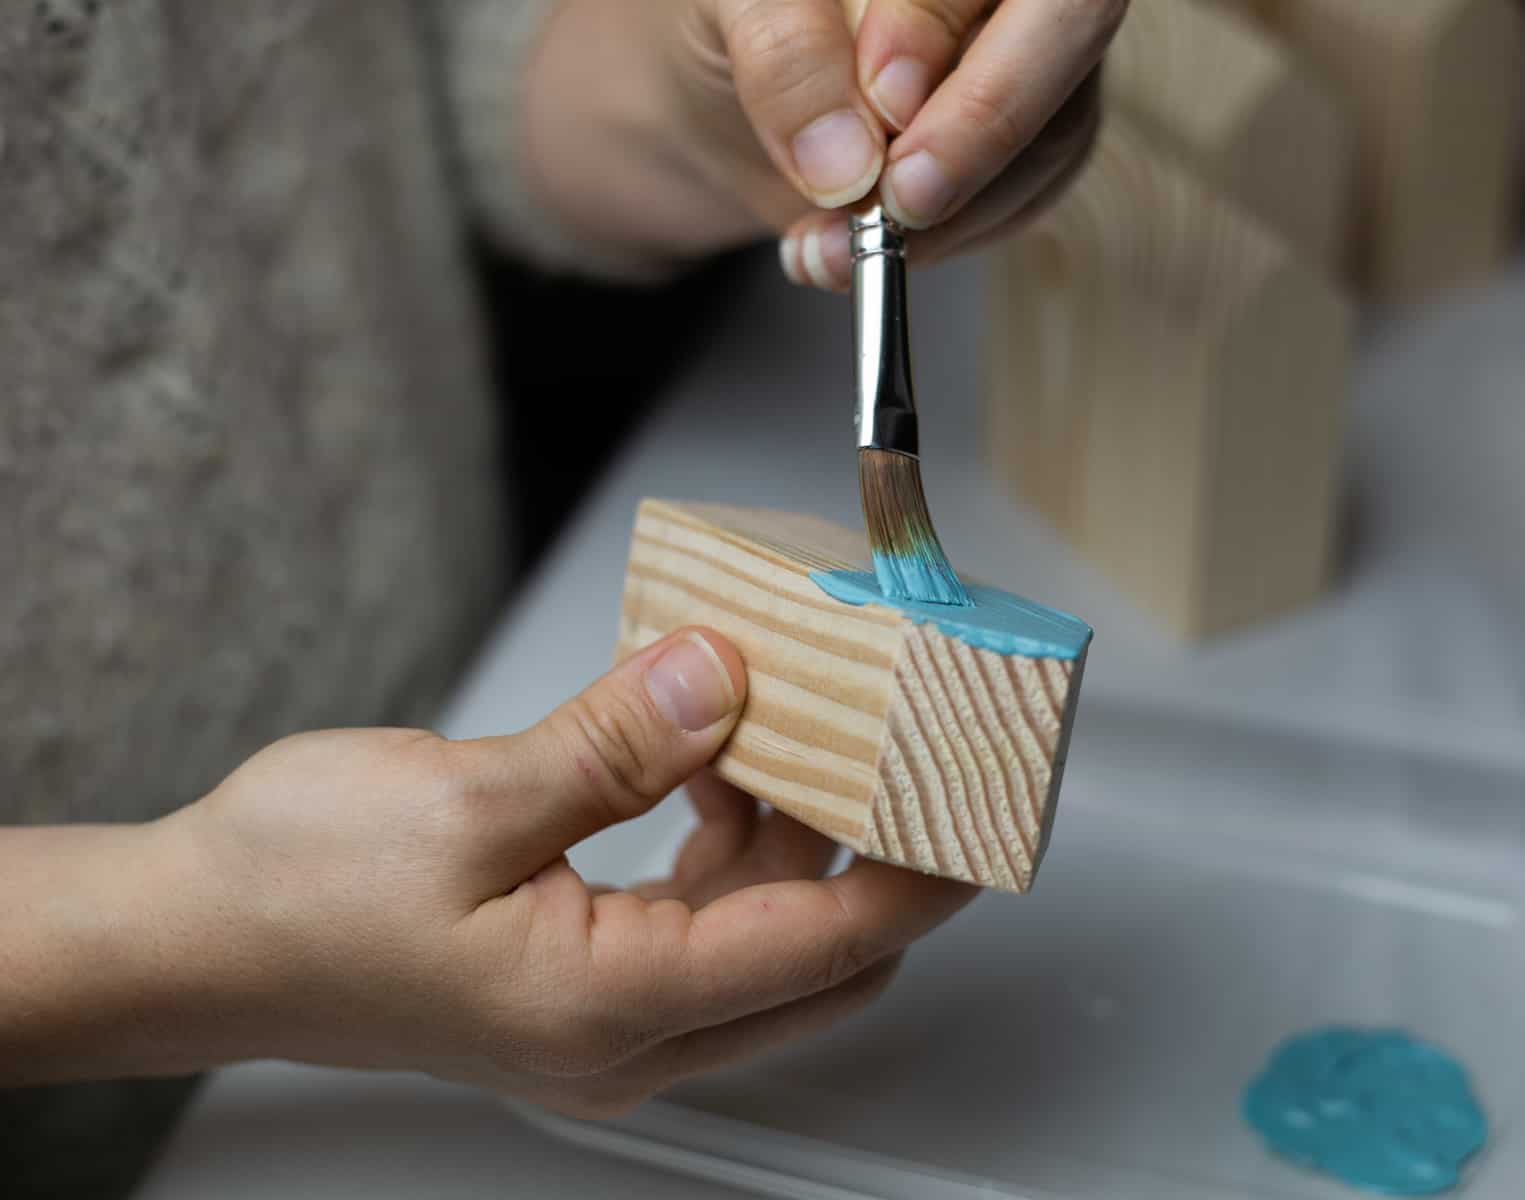
Next you will want to add your windows and doors! Using a white paint pen, draw on whimsical windows and doors all over your little houses. Personally, I embrace the imperfections and don’t worry about symmetry or practicality. Free yourself from the need for perfection! Set your blocks aside to dry fully.
Finally, you have to seal your blocks. I love using this non-toxic wood sealer to finish all of my blocks. You only need a small amount and you can use a soft cloth to apply this wood sealer. Just do a very thin layer, keep wiping off the excess as you go, and set your blocks aside to try fully before play.
The last, and most important step. Share these magical gifts with your children and prepare for your heart to overflow with joy as you see how much they love and appreciate them!
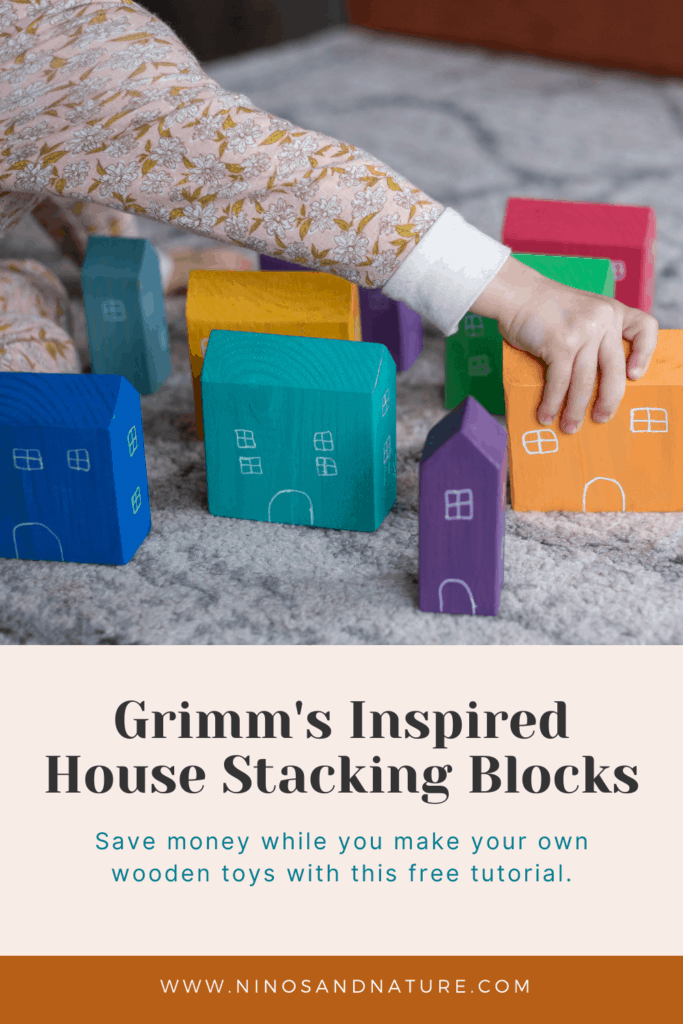
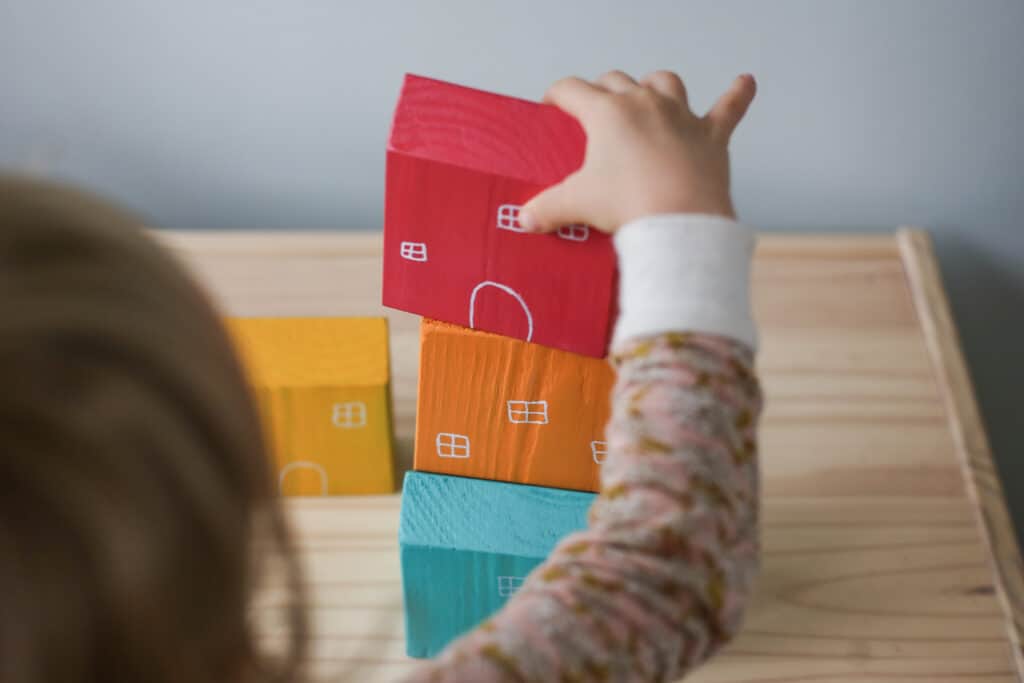
Ready to use play to your advantage with learning Spanish? These Grimm’s inspired stacking blocks are perfect for learning all about casas in Spanish, learning your colors, practicing verbs for stacking and building, and counting! Your Spanish learning at home doesn’t need to be a big production or lesson, especially with young children. You can weave your language learning into all of your play at home.
Need more help bringing hands-on Spanish activities into your learning at home? Check out my play based, screen free Spanish courses for families. Con mi Familia is perfect for kiddos 2-6, and Spanish in the Wild is a bilingual nature study course for children 5+ (even teens!)
I hope you love these DIY stacking blocks as much as I do! Make sure you check out my other free wooden toy tutorials to keep saving money and sparking joy at home.


