

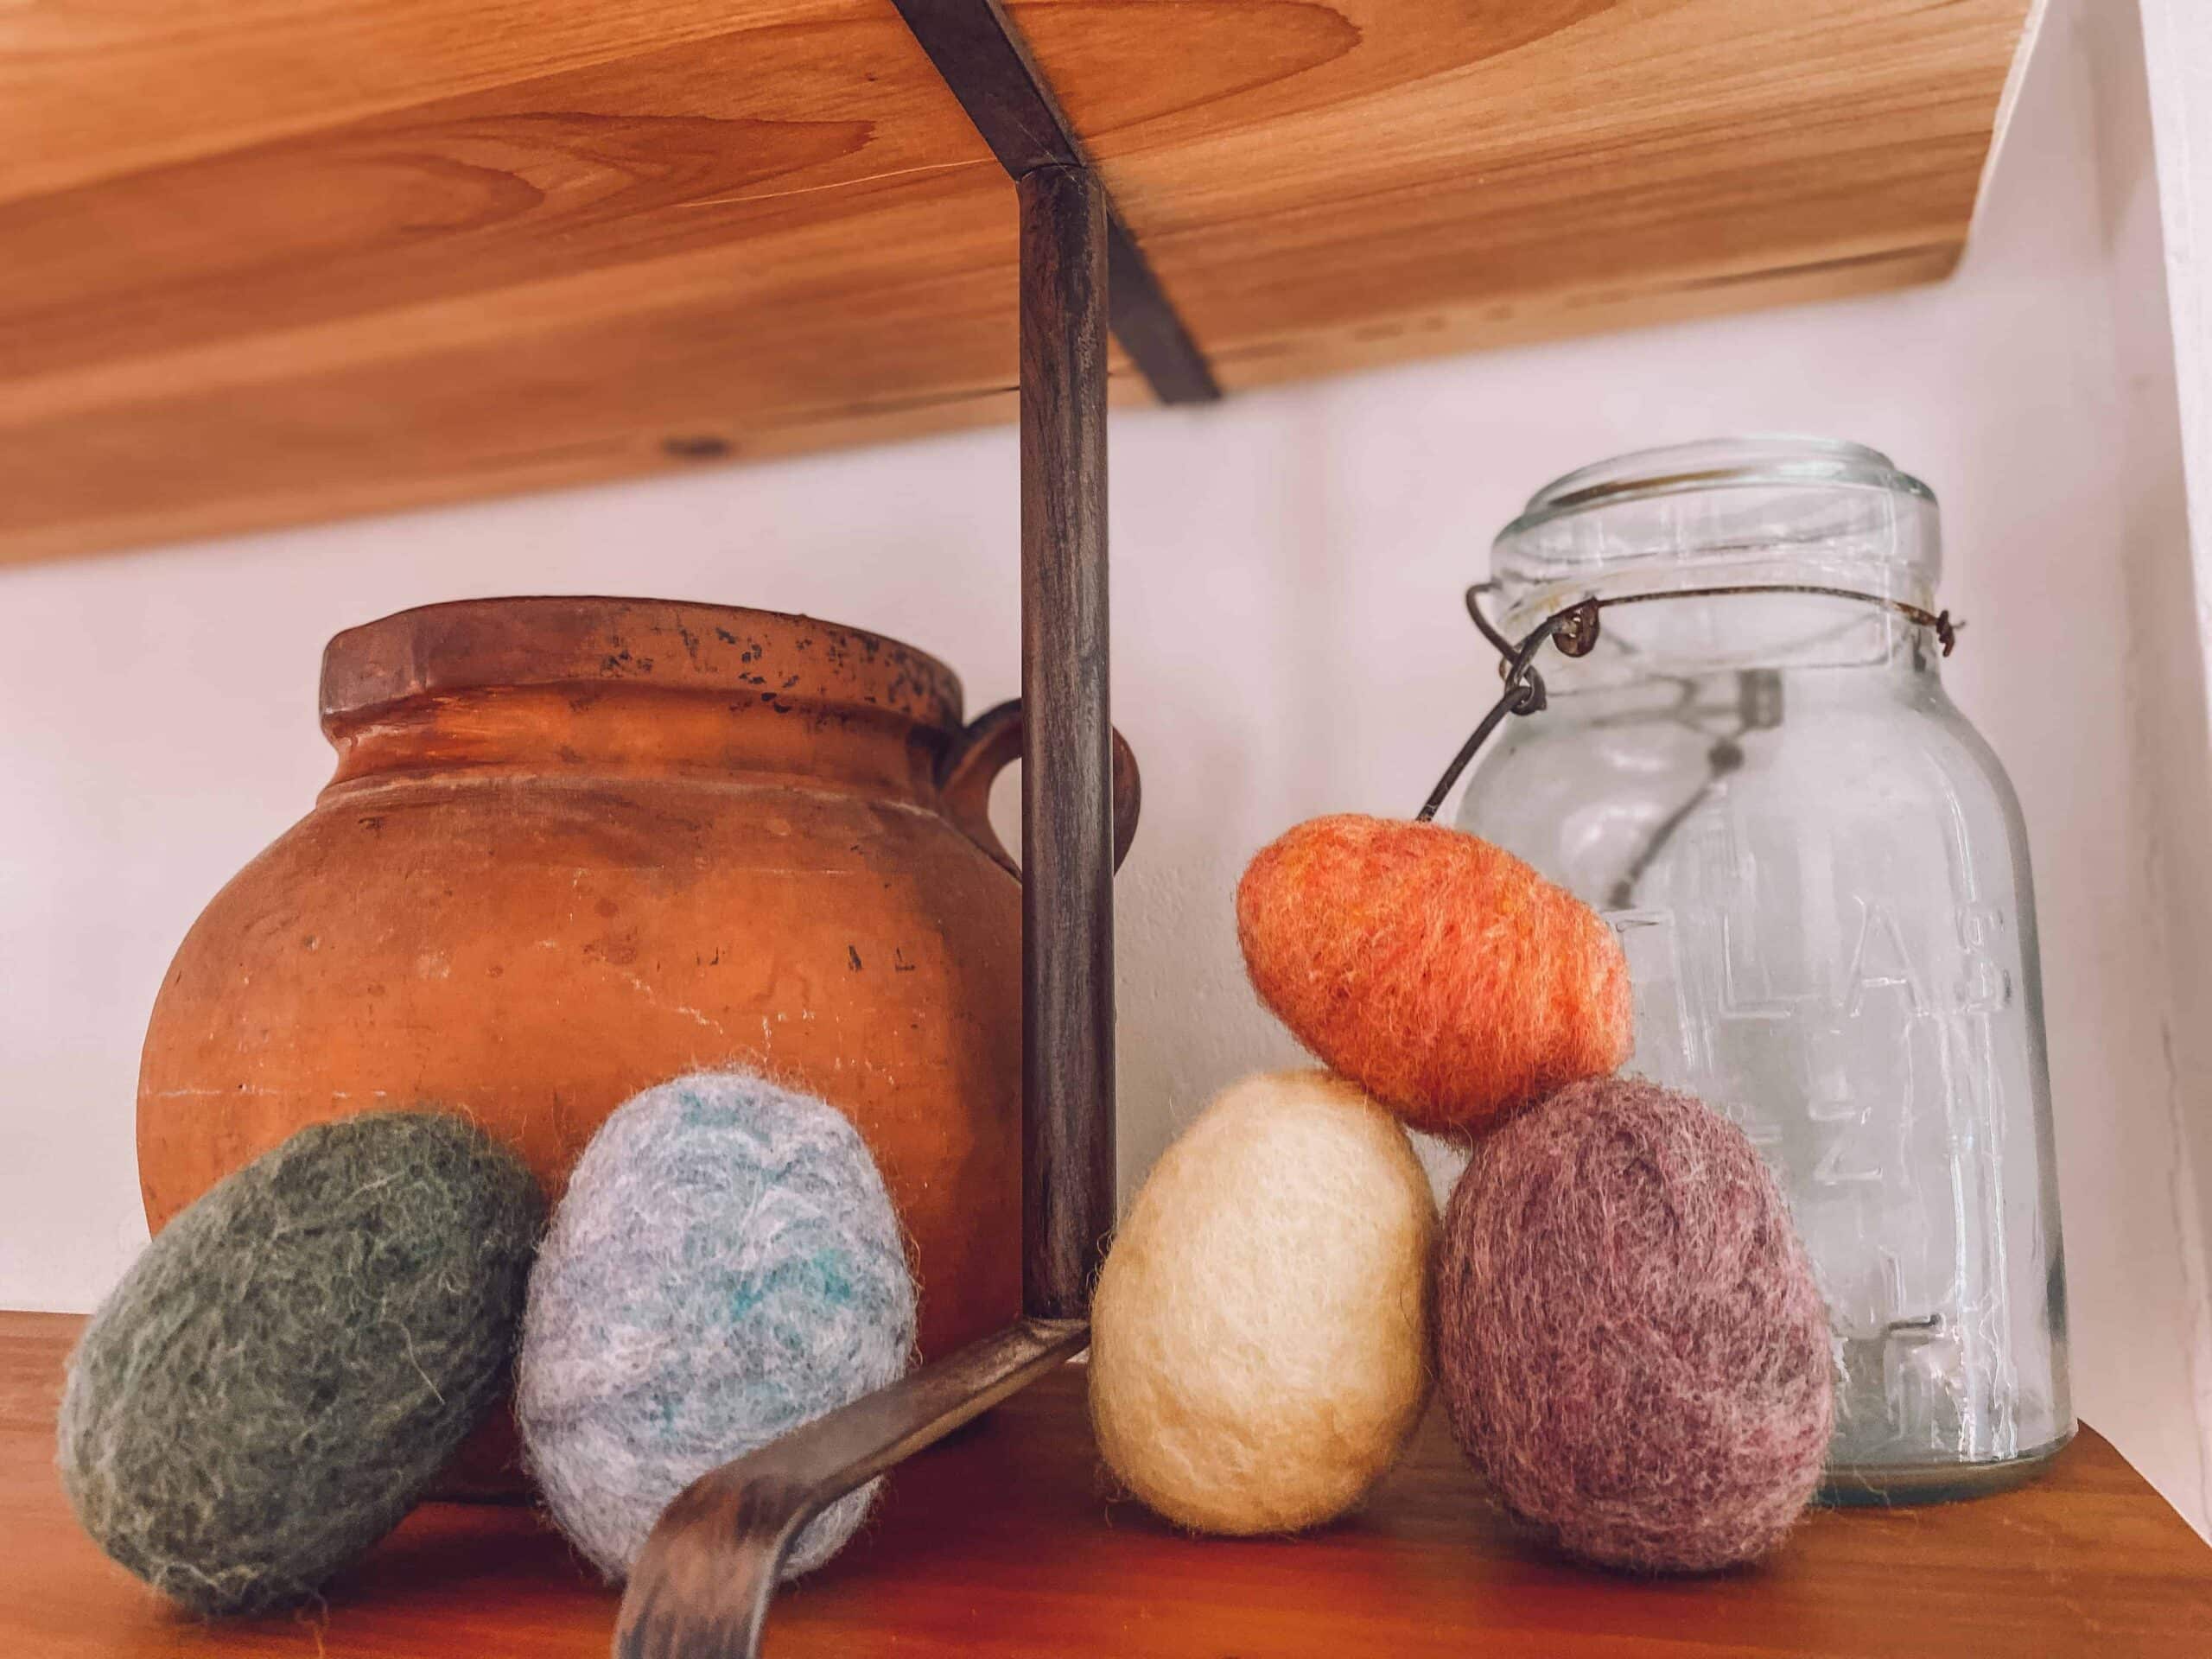
I am in full blown Easter mode, my friends. I don’t know what it is this year but I just need something fun and exciting to look forward to. Easter is proving to be just what I needed and I have loved working on all these little projects to make this year special. We have a yearly tradition where I make the girls their own felted Easter egg to find. It either has their initial on it or their favorite animal or color, something to make it just for them.
Last year I spent so much time needle felting the egg and even though I love how they turned out, it ended up being more work than I wanted to do again. I thought back to the DIY felted trees I made last summer and had a total epiphany. I could make these felted eggs using the same process!
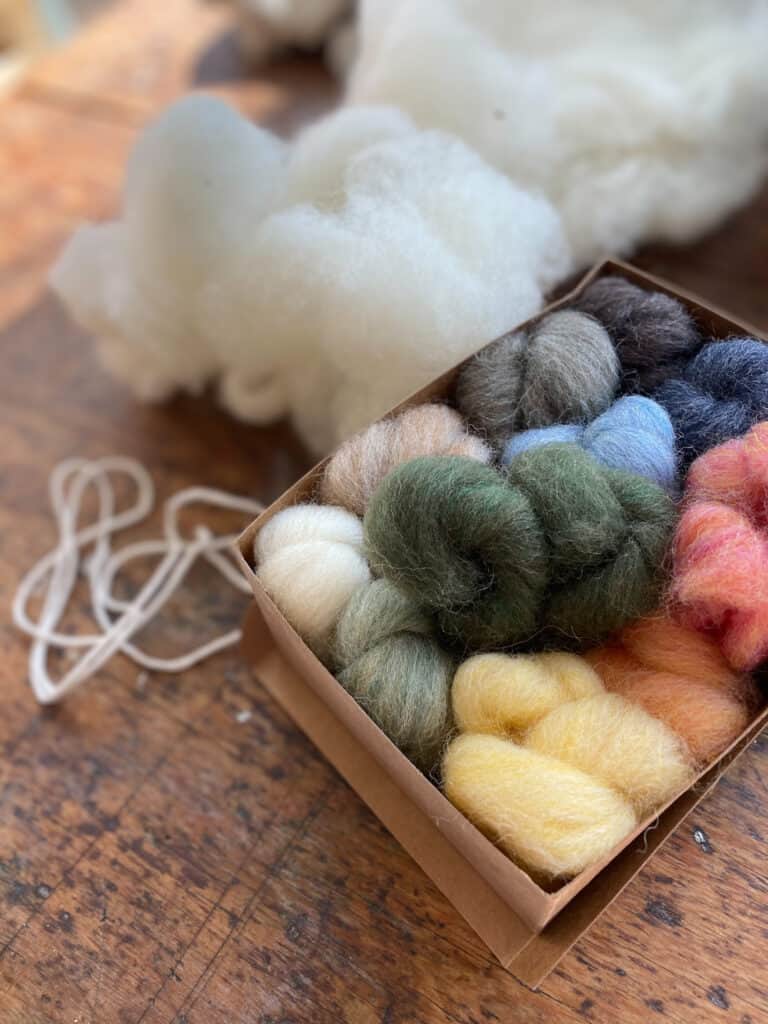
*Base wool roving – this is usually white or just any color you have that you don’t really love that much
*Colored wool roving – I used this incredible wool from Woodlark Shop and I am just in love with the colors! The quality wool is incredible and it is some of my favorite that I have ever worked with. Their starter set is perfect for this project.
*Felting needle – any size will do, you don’t use it too much – only to keep the ball together before going into the washing machine
*Old stockings
*Cotton string
*Washing machine
First take your base wool, wrap it around your fingers to get a small ball started. Then, take it off your fingers and continue wrapping in all directions until you have a ball about the size of a tennis ball. Use your felting needle to felt it slightly to keep it all in place.
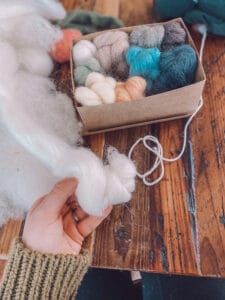
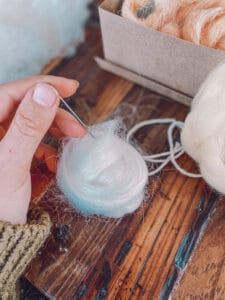
Next you have to pull apart sections of the colored wool you are using and apply thin layers all around the ball, making sure to cover up all of the white. Use your felting needle to felt each layer in place. Make sure to use thin layers so that you don’t have any weird clumps or flaps when it felts.
Now take your ball and put it all the way down into the base of an old pair of stockings. Tie cotton string just above it to keep it in place. You can repeat this process and fill each stocking leg with little wool balls if you want! Just tie cotton string in-between to keep them from felting into one giant piece.
Run your little stuffed stockings through a hot wash cycle, no soap, that lasts about 25 minutes. Every machine is different so once it’s done, just give one of the wool balls a squeeze and see if it feels firm. If it still feels too soft you can run it again for a shorter cycle. 25 minutes seems to be the perfect time for my machine.
Take these out while they are still wet. Cut the strings (don’t cut your stockings – save them or future felting projects!) and remove all of the wool balls to shape while wet.
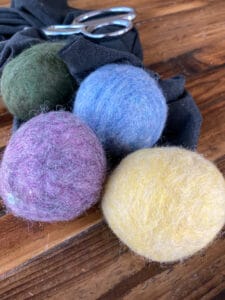
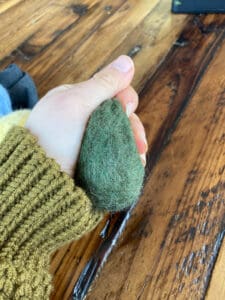
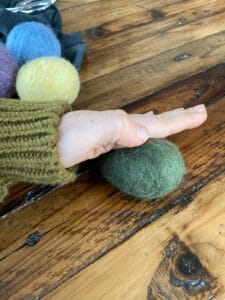
Shape the balls into an egg shape by squeezing, rolling and shaping until they look just right. Then set them aside to dry for a full 24 hours and voila! You have felted Easter eggs. You can decorate these by felting designs on top of them, sewing different felt shapes or even embroidering them. I’ll be trying embroidery this year and I’ll check back and update with the results!
*This post contains Amazon affiliate links for your convenience*


