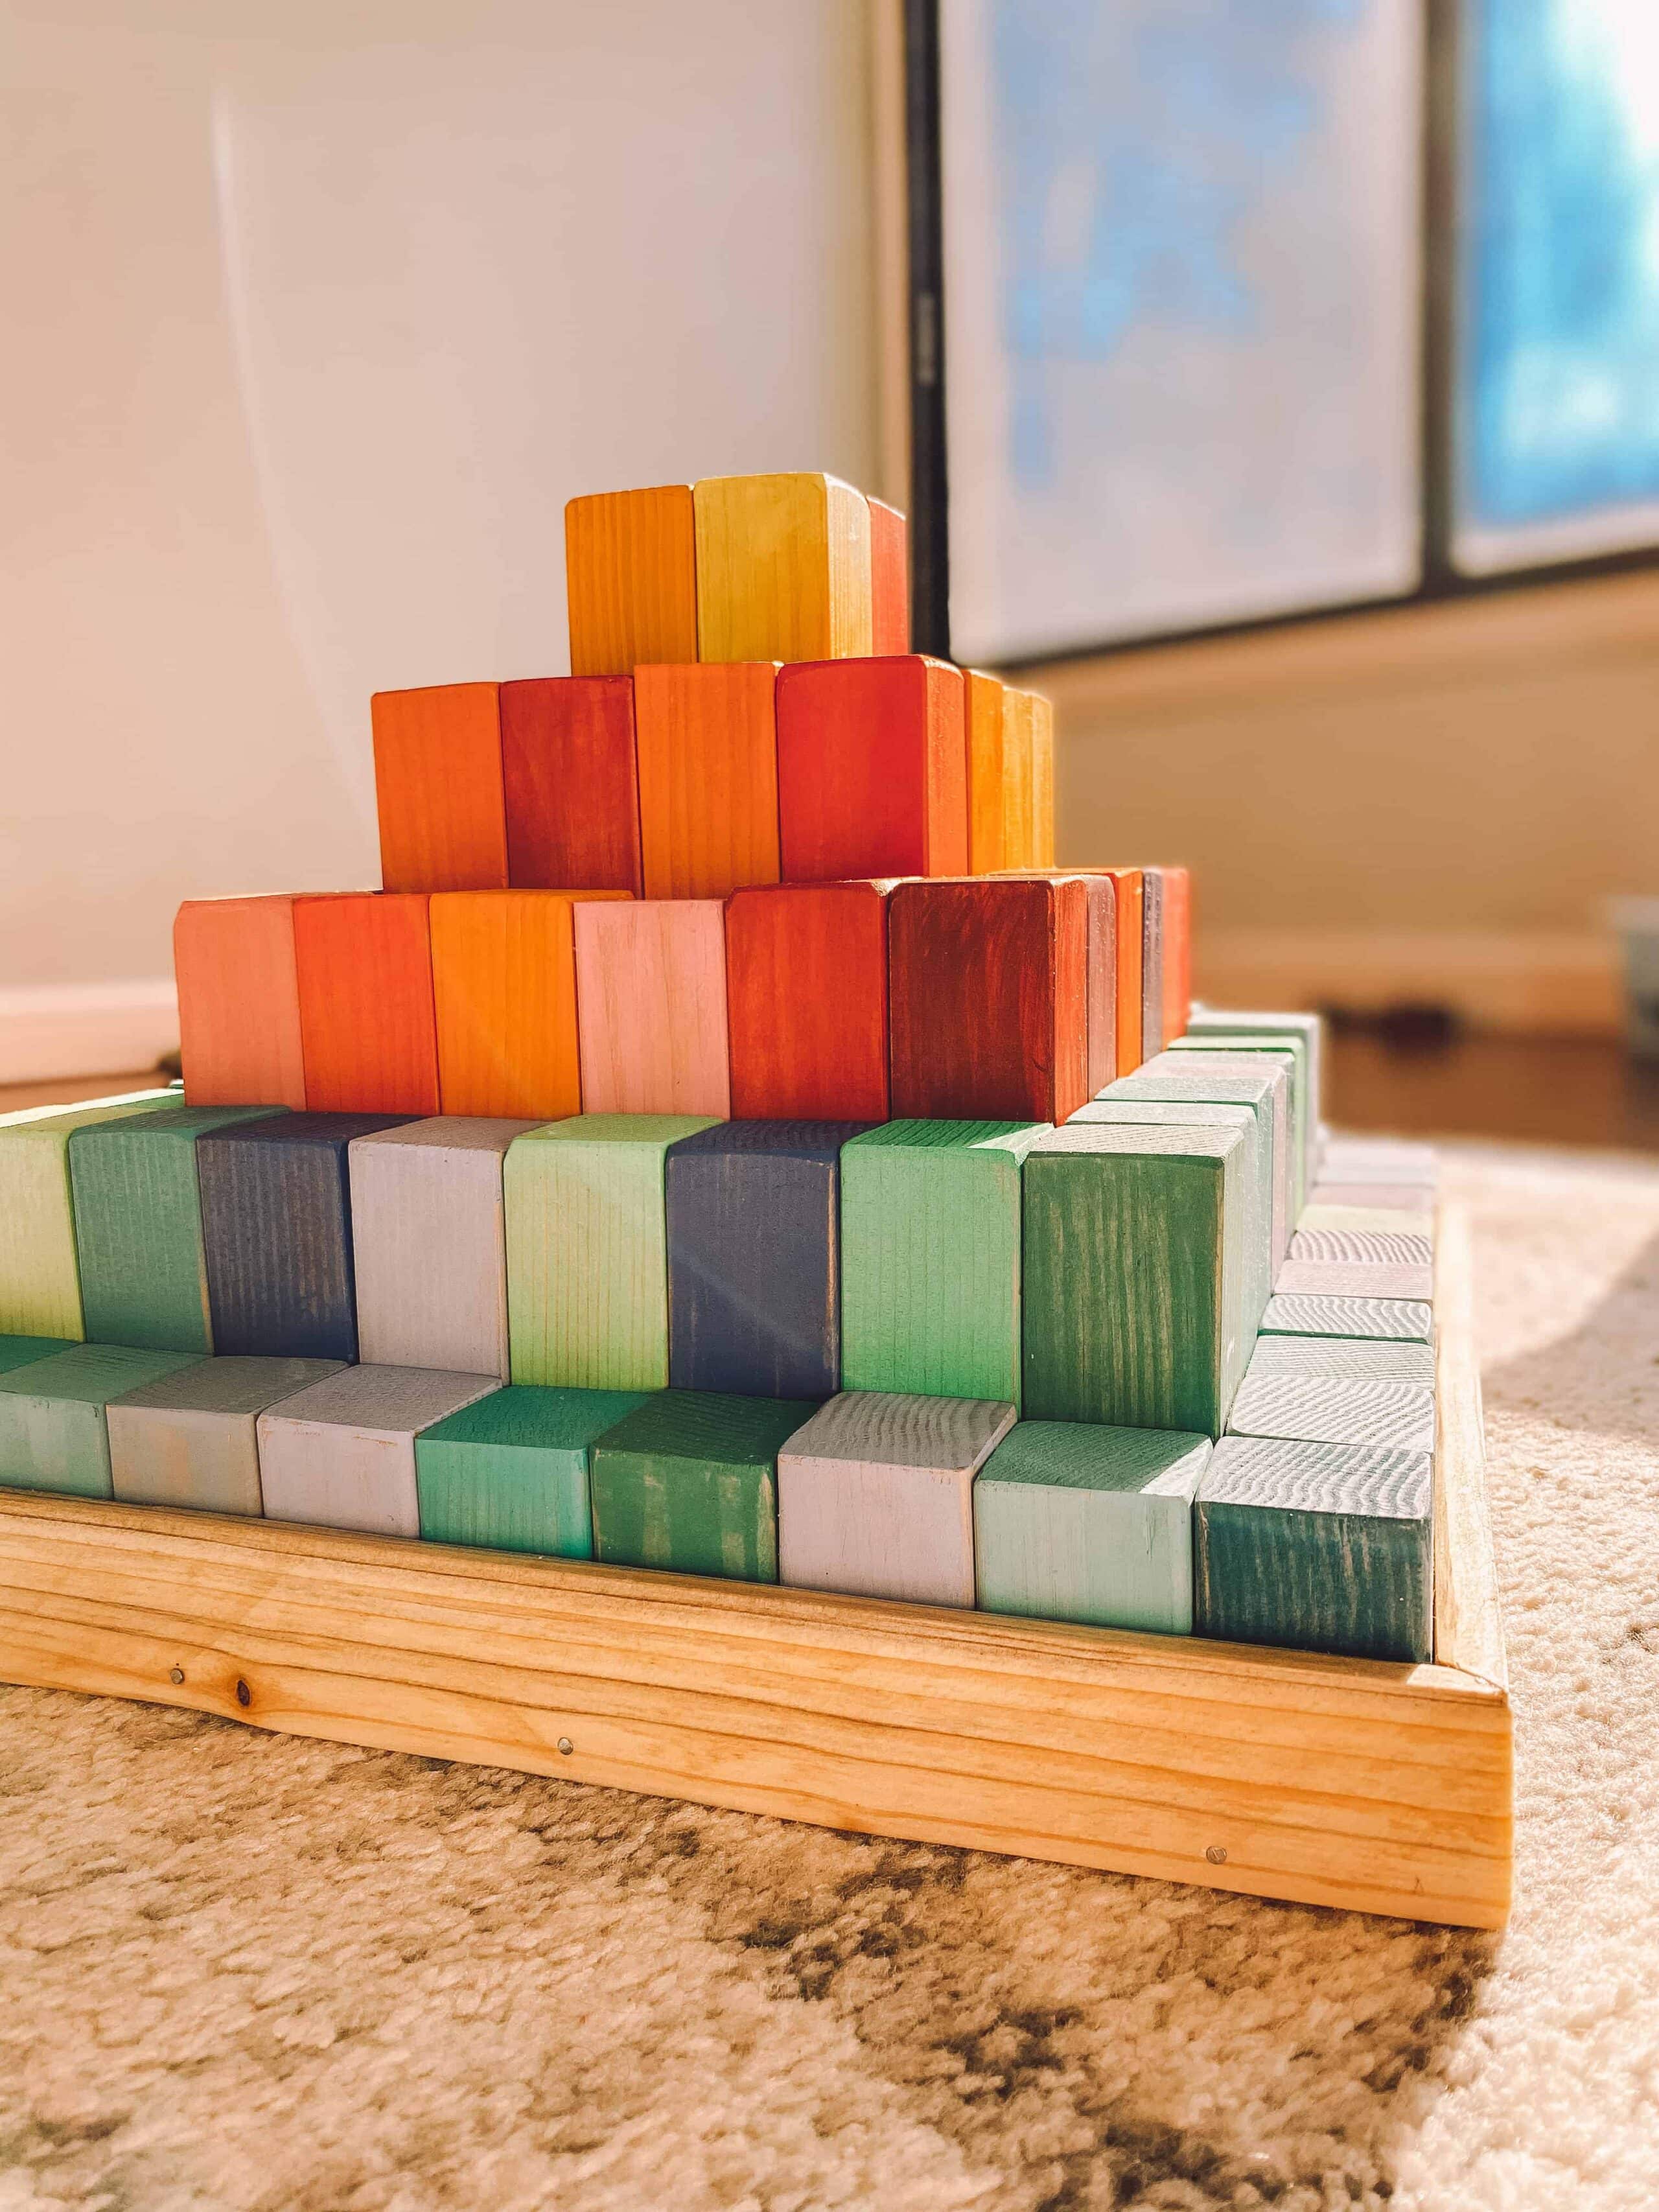
DIY Grimms Large Stepped Pyramid – Make your own amazing wooden Waldorf toys
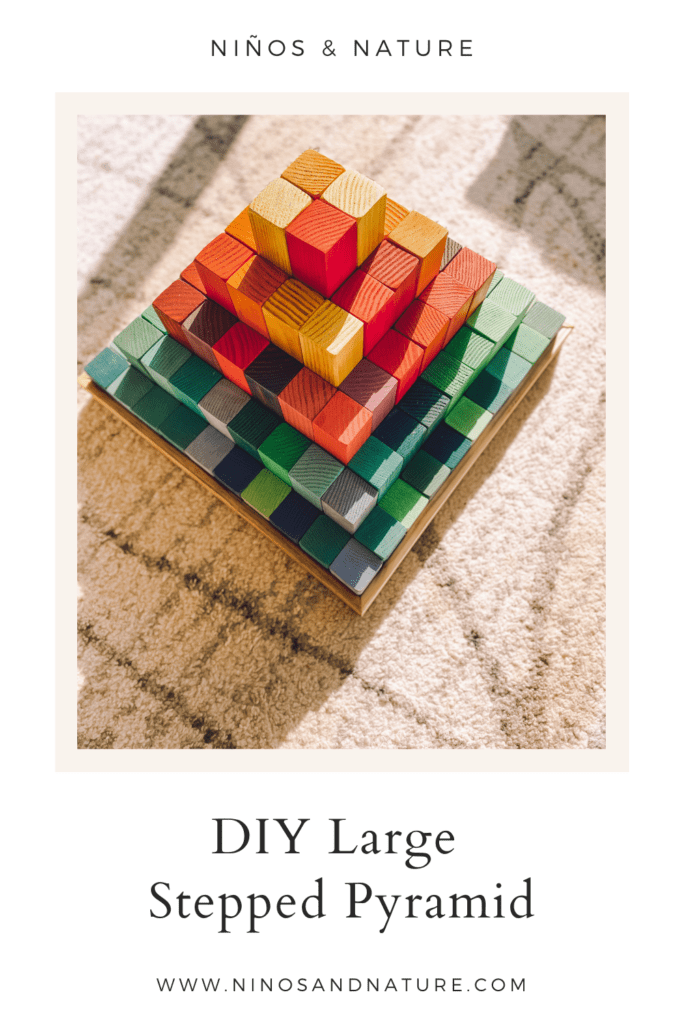
In this post: Learn how to make your own Grimm’s inspired Large Stepped Pyramid! With a full video tutorial, you can make your own amazing wooden toys and save money.
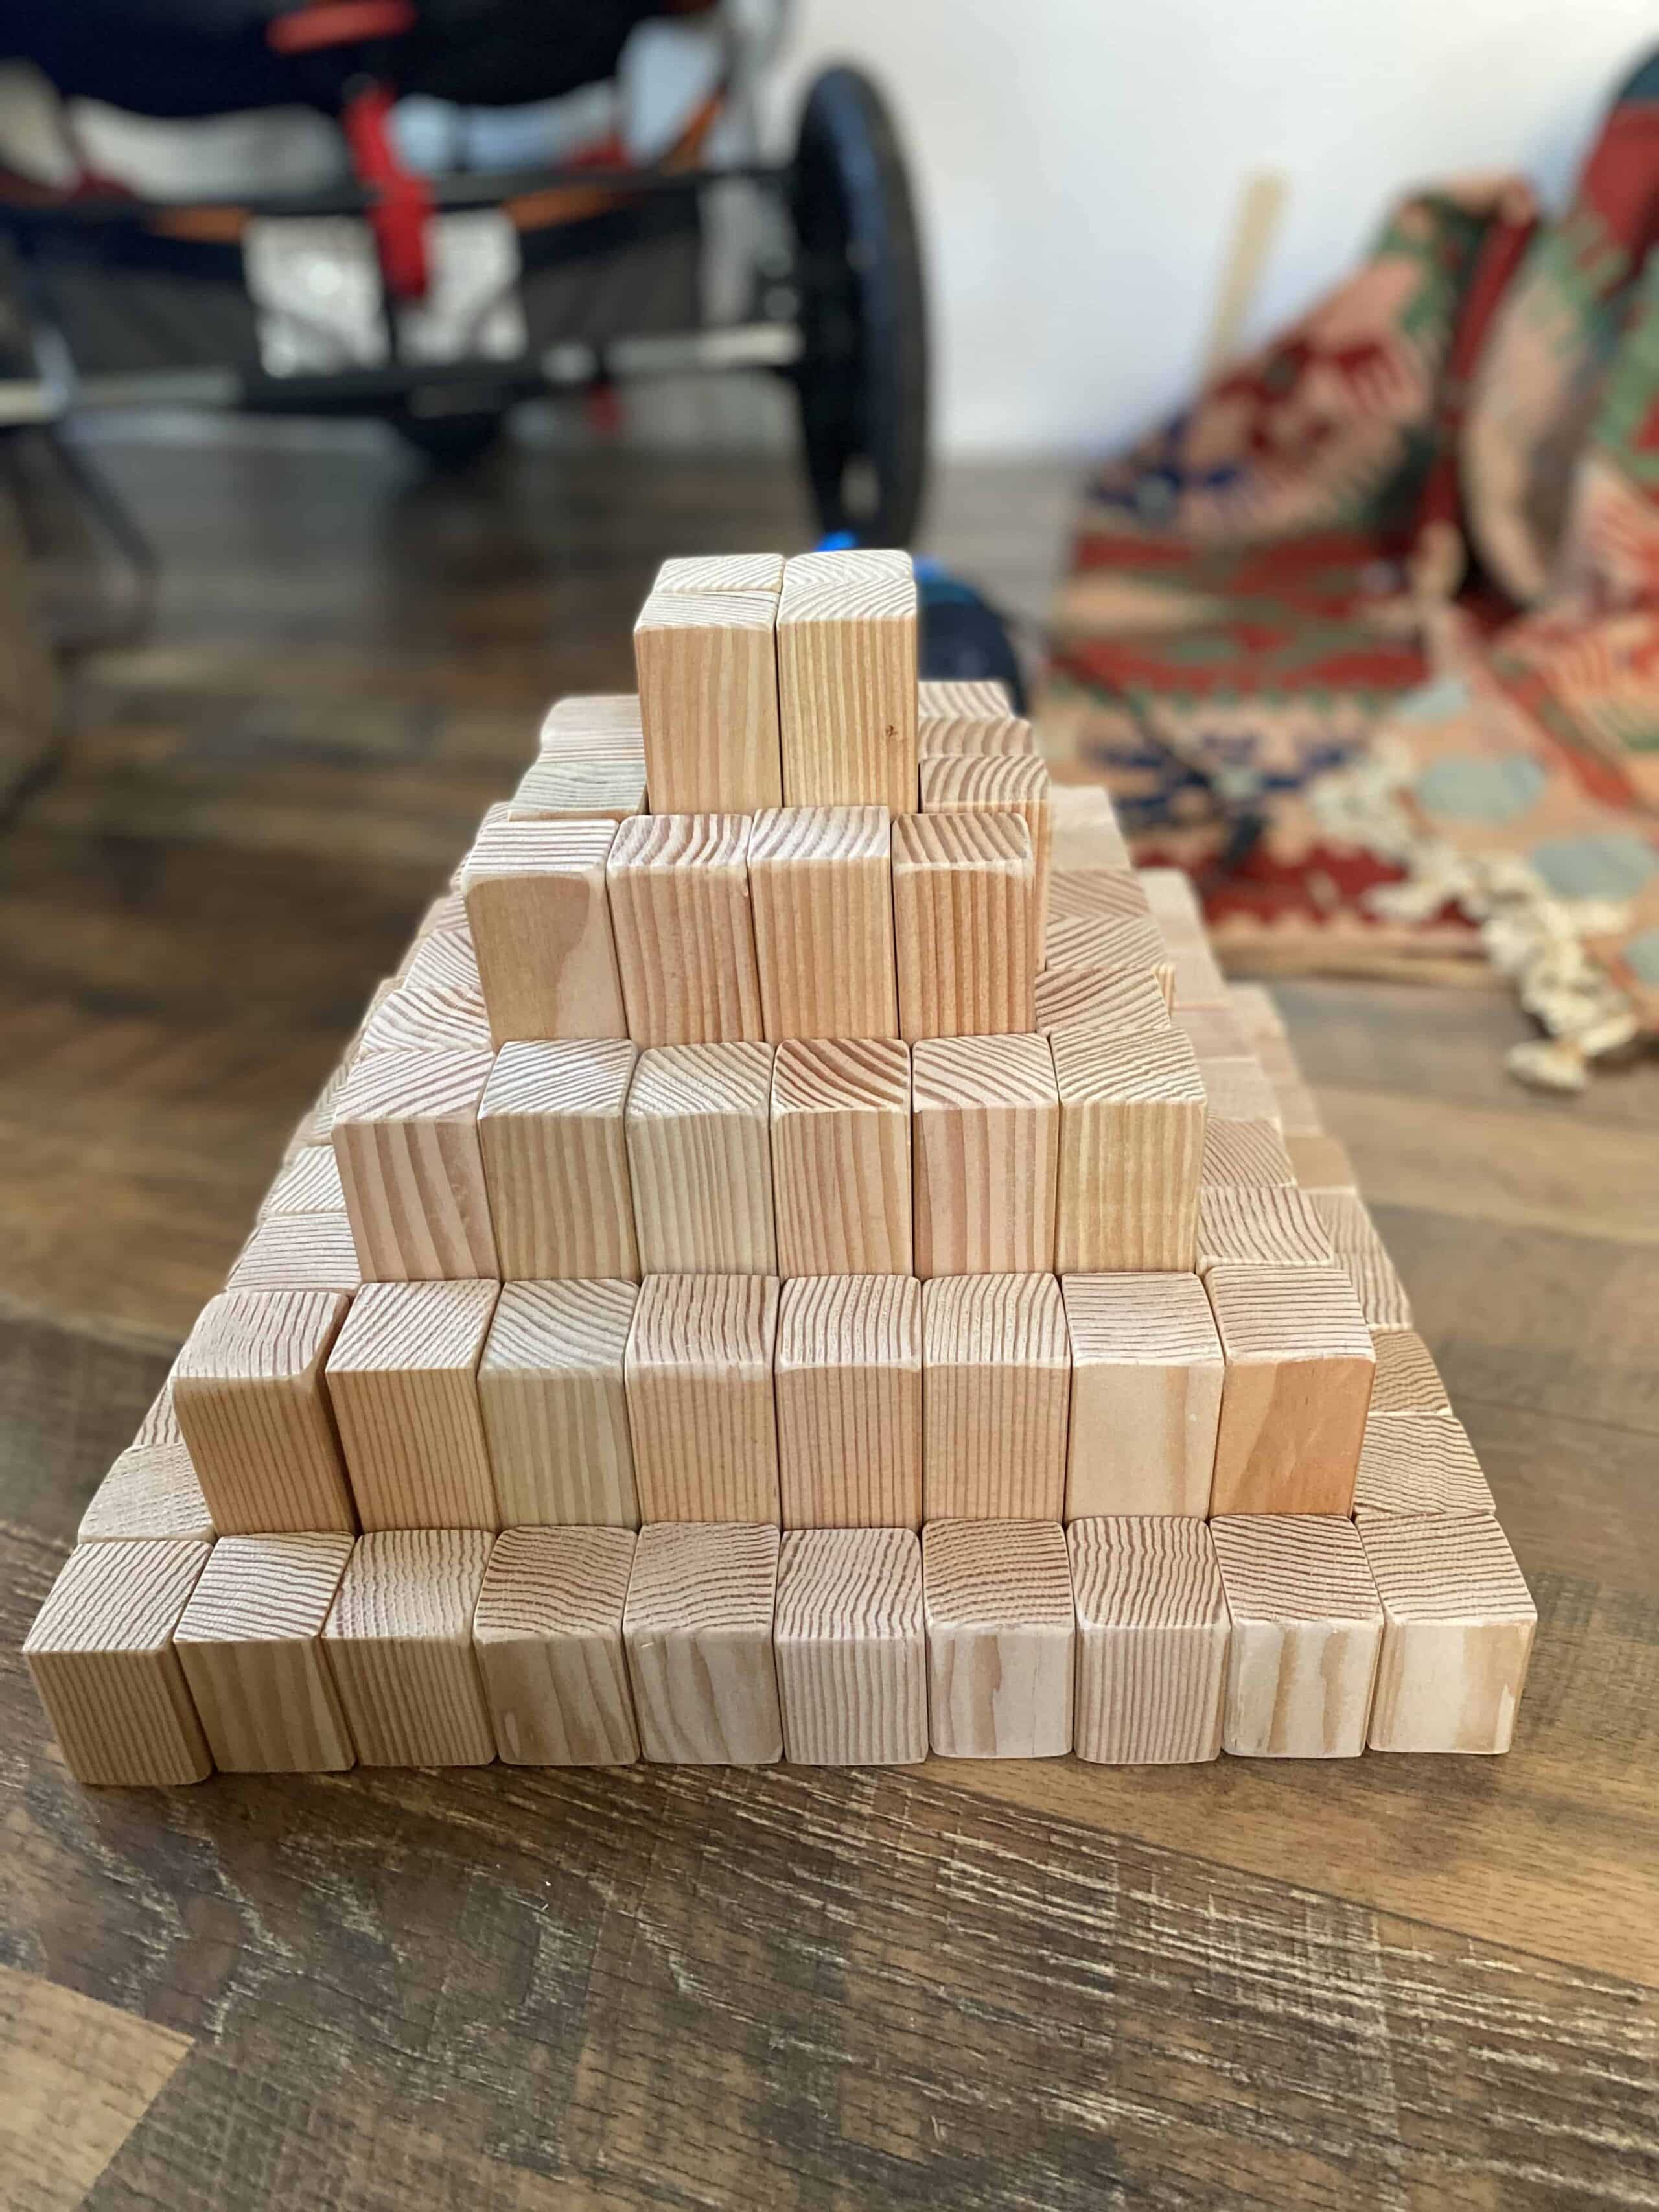
I have been wanting to buy a Grimm’s Large Stepped Pyramid for my little ones ALL year, and finally I just got enough motivation to stop coveting it and start making it.
This is an amazing toy to have at home and I know it will be played with for years to come. The price tag is big for this one and it is almost always sold out so making it yourself seems like the best option to me. If you have access to the right tools this is a pretty simple project to make and can come together fairly quickly, especially if you have a helping hand with the sanding.
All in all it probably took about 6-7 hours of dedicated work (seriously, sanding and painting takes the longest…) but it was so worth it in the end. So much love went into each and every block and I cannot wait to place this under our Christmas tree and see their faces when they wake up to it!
All in this project cost me about $55 worth of wood and paint. I actually have some wood left over that I’ll be using for another project so technically it cost me a little less but that’s the general price.
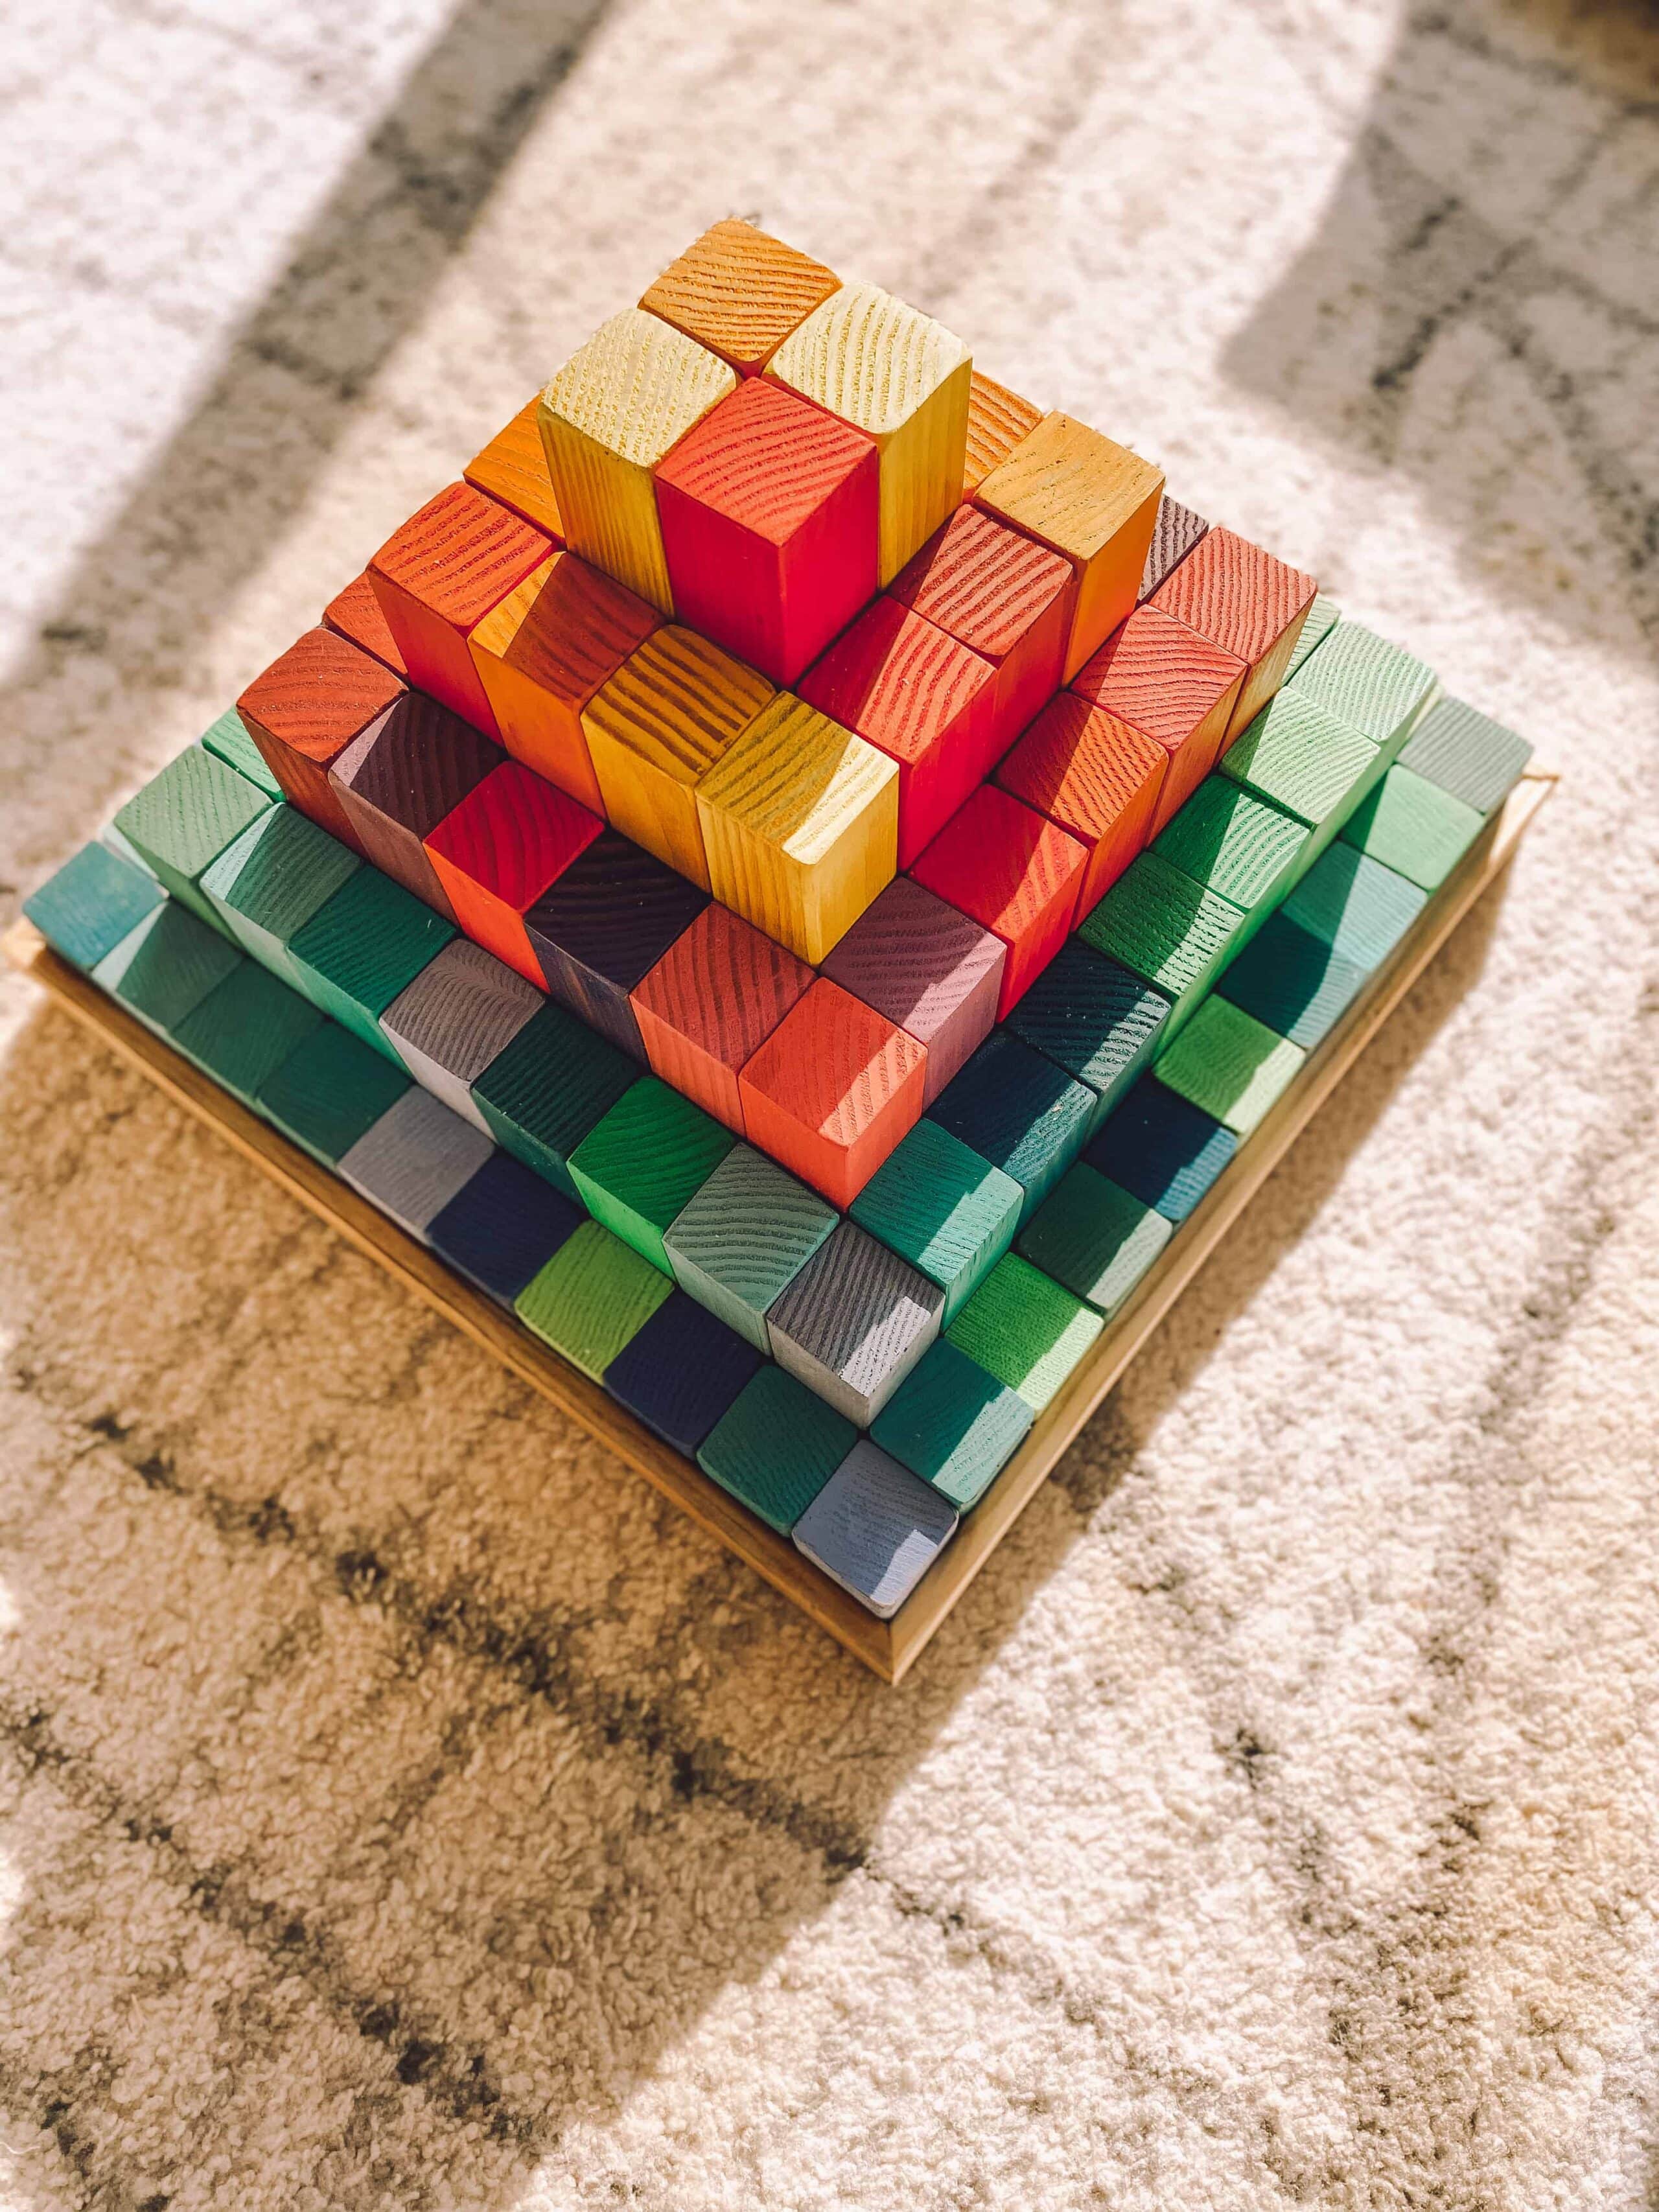
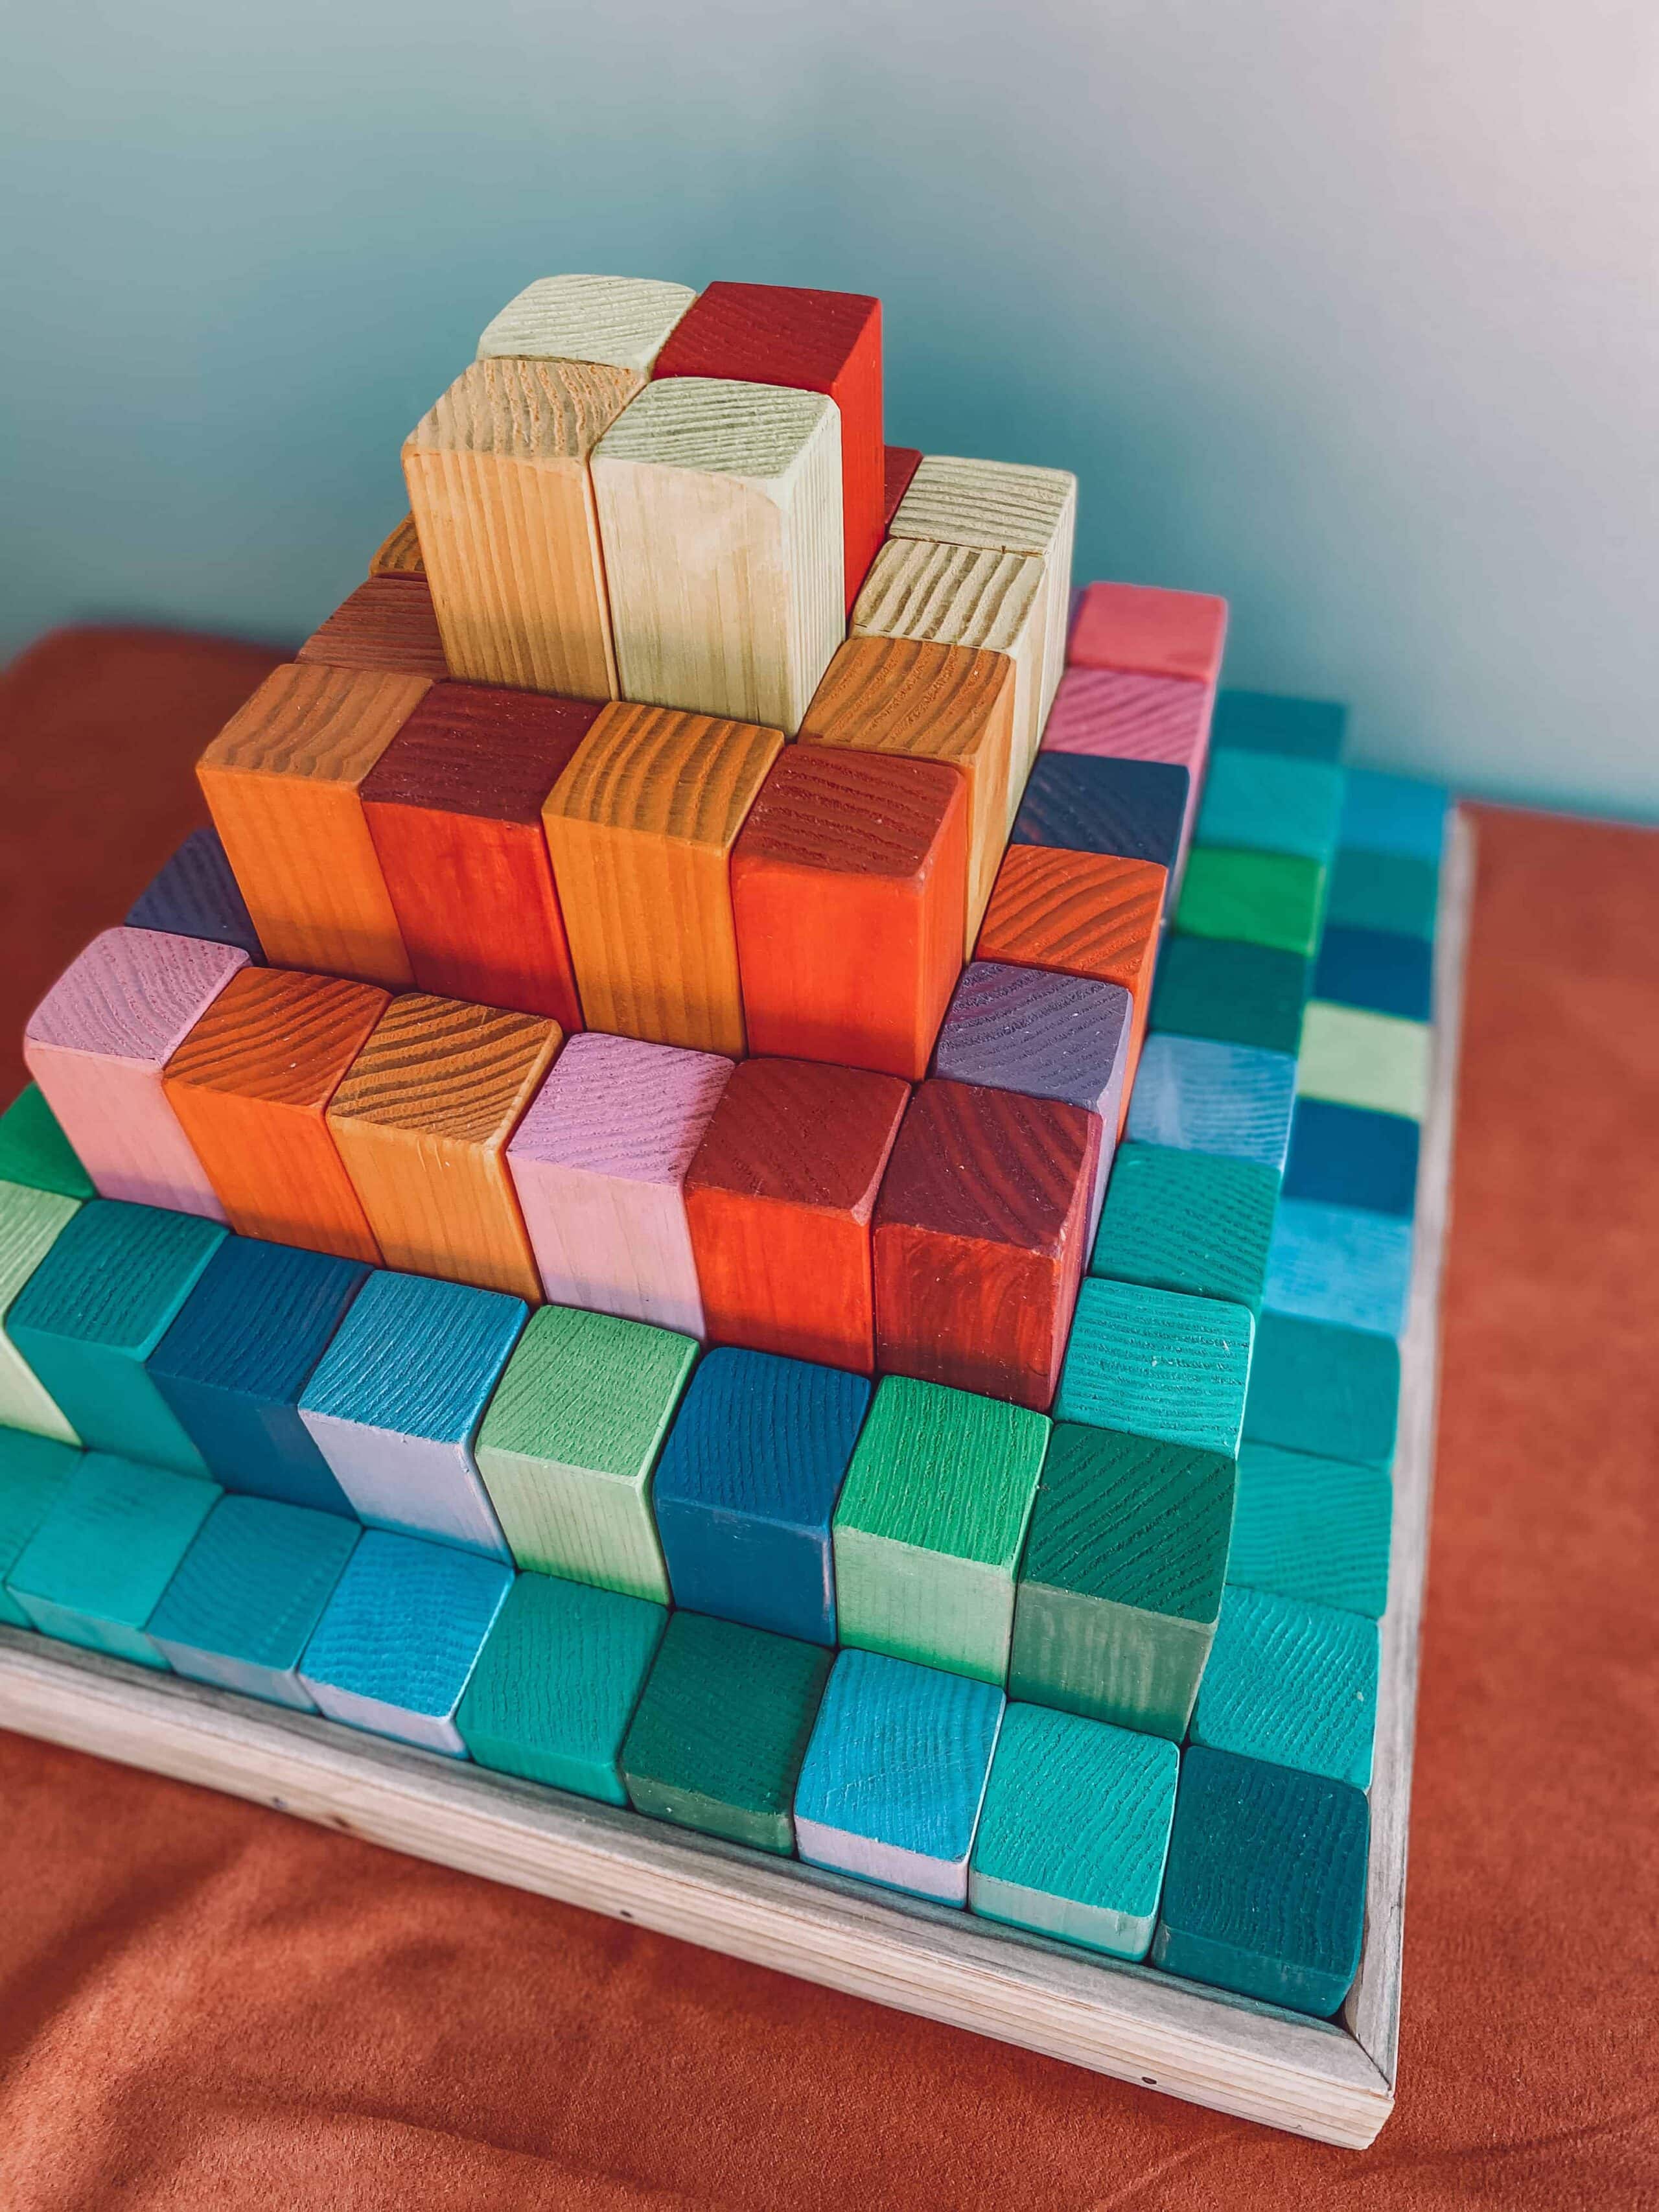
Here is what you will need to make your large stepped pyramid:
5 boards that are 2x2x8 – I chose douglas fir but you can use any clean hardwood that doesn’t have a lot of knots. Make sure you pick it out yourself! Trust me- go and pick them out, look for the straightest and cleanest boards you can find.
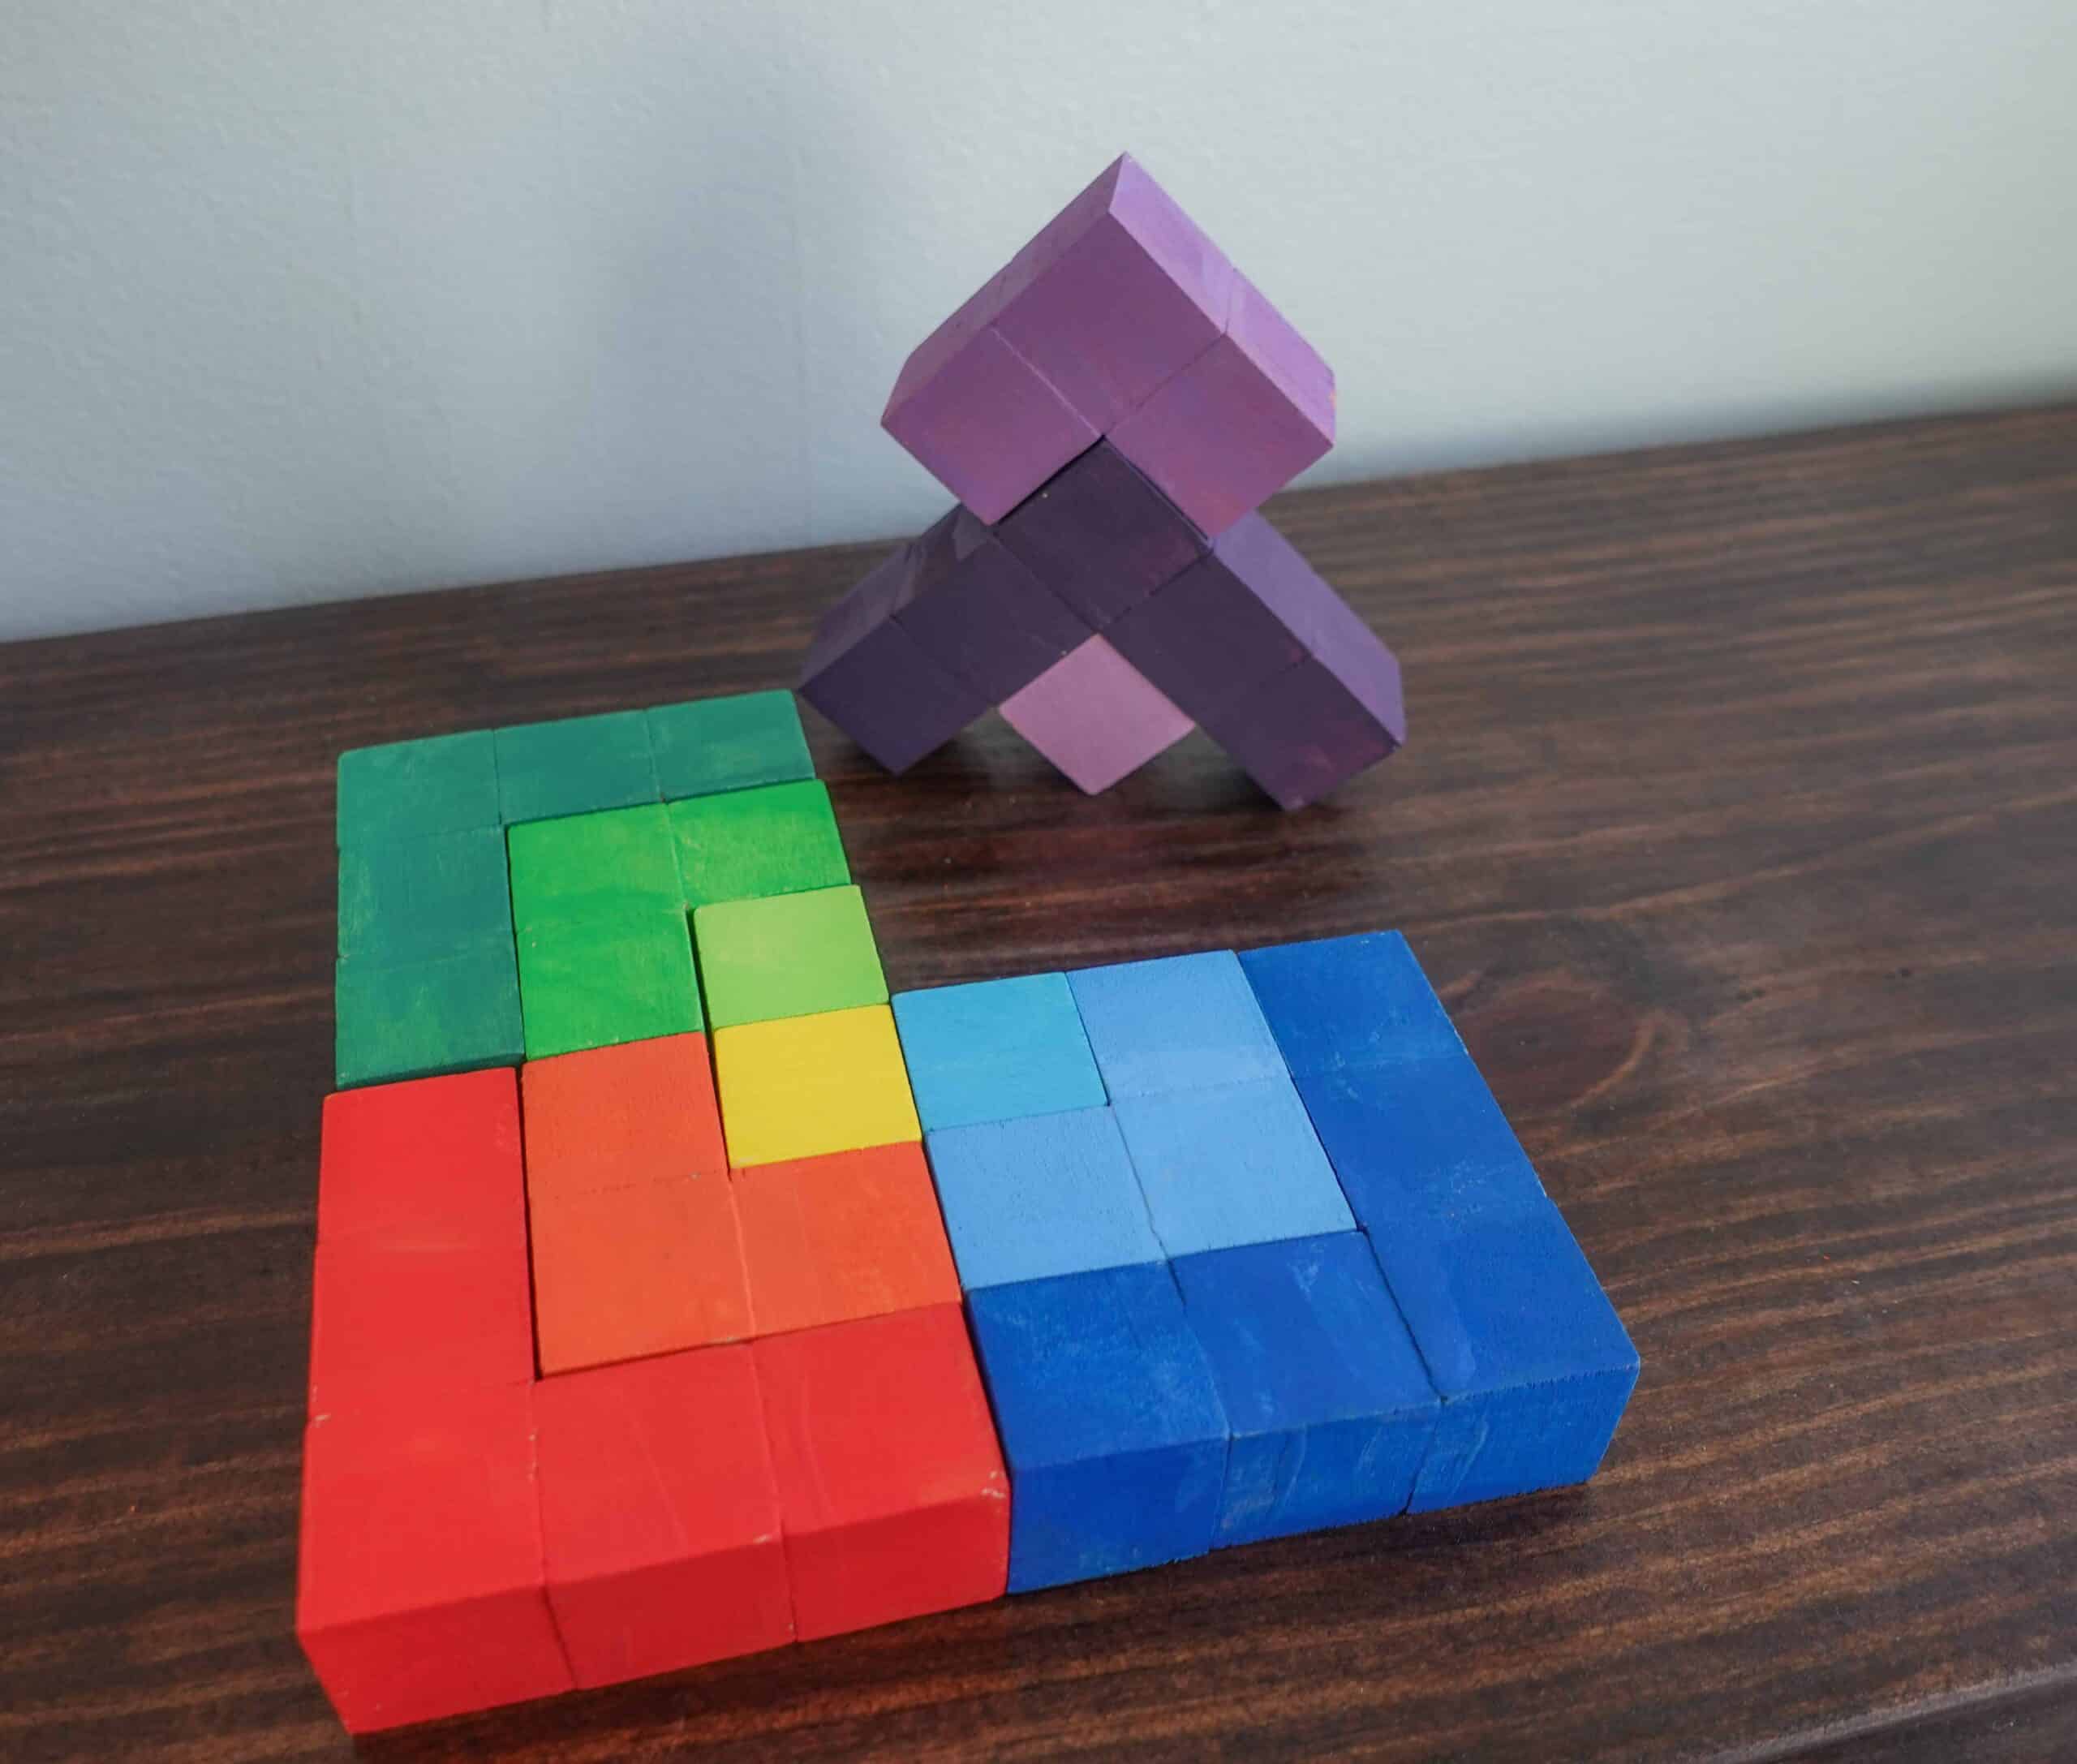
Acrylic Paint – you can choose any color style you want! I went with the classic rainbow but I was tempted to do an earth tone or a pastel. Follow your heart! I loved mixing each shade as I painted but if you want to keep it more straight forward, just use the paint right out of the bottle.
A saw – this is where it gets tricky. I am lucky that I have a miter saw on hand because it makes cutting these a breeze. You can get away with a regular or a compact circular saw but don’t even try it with a handsaw or a jigsaw…you will probably get 2 cuts in and give up, I know I would.
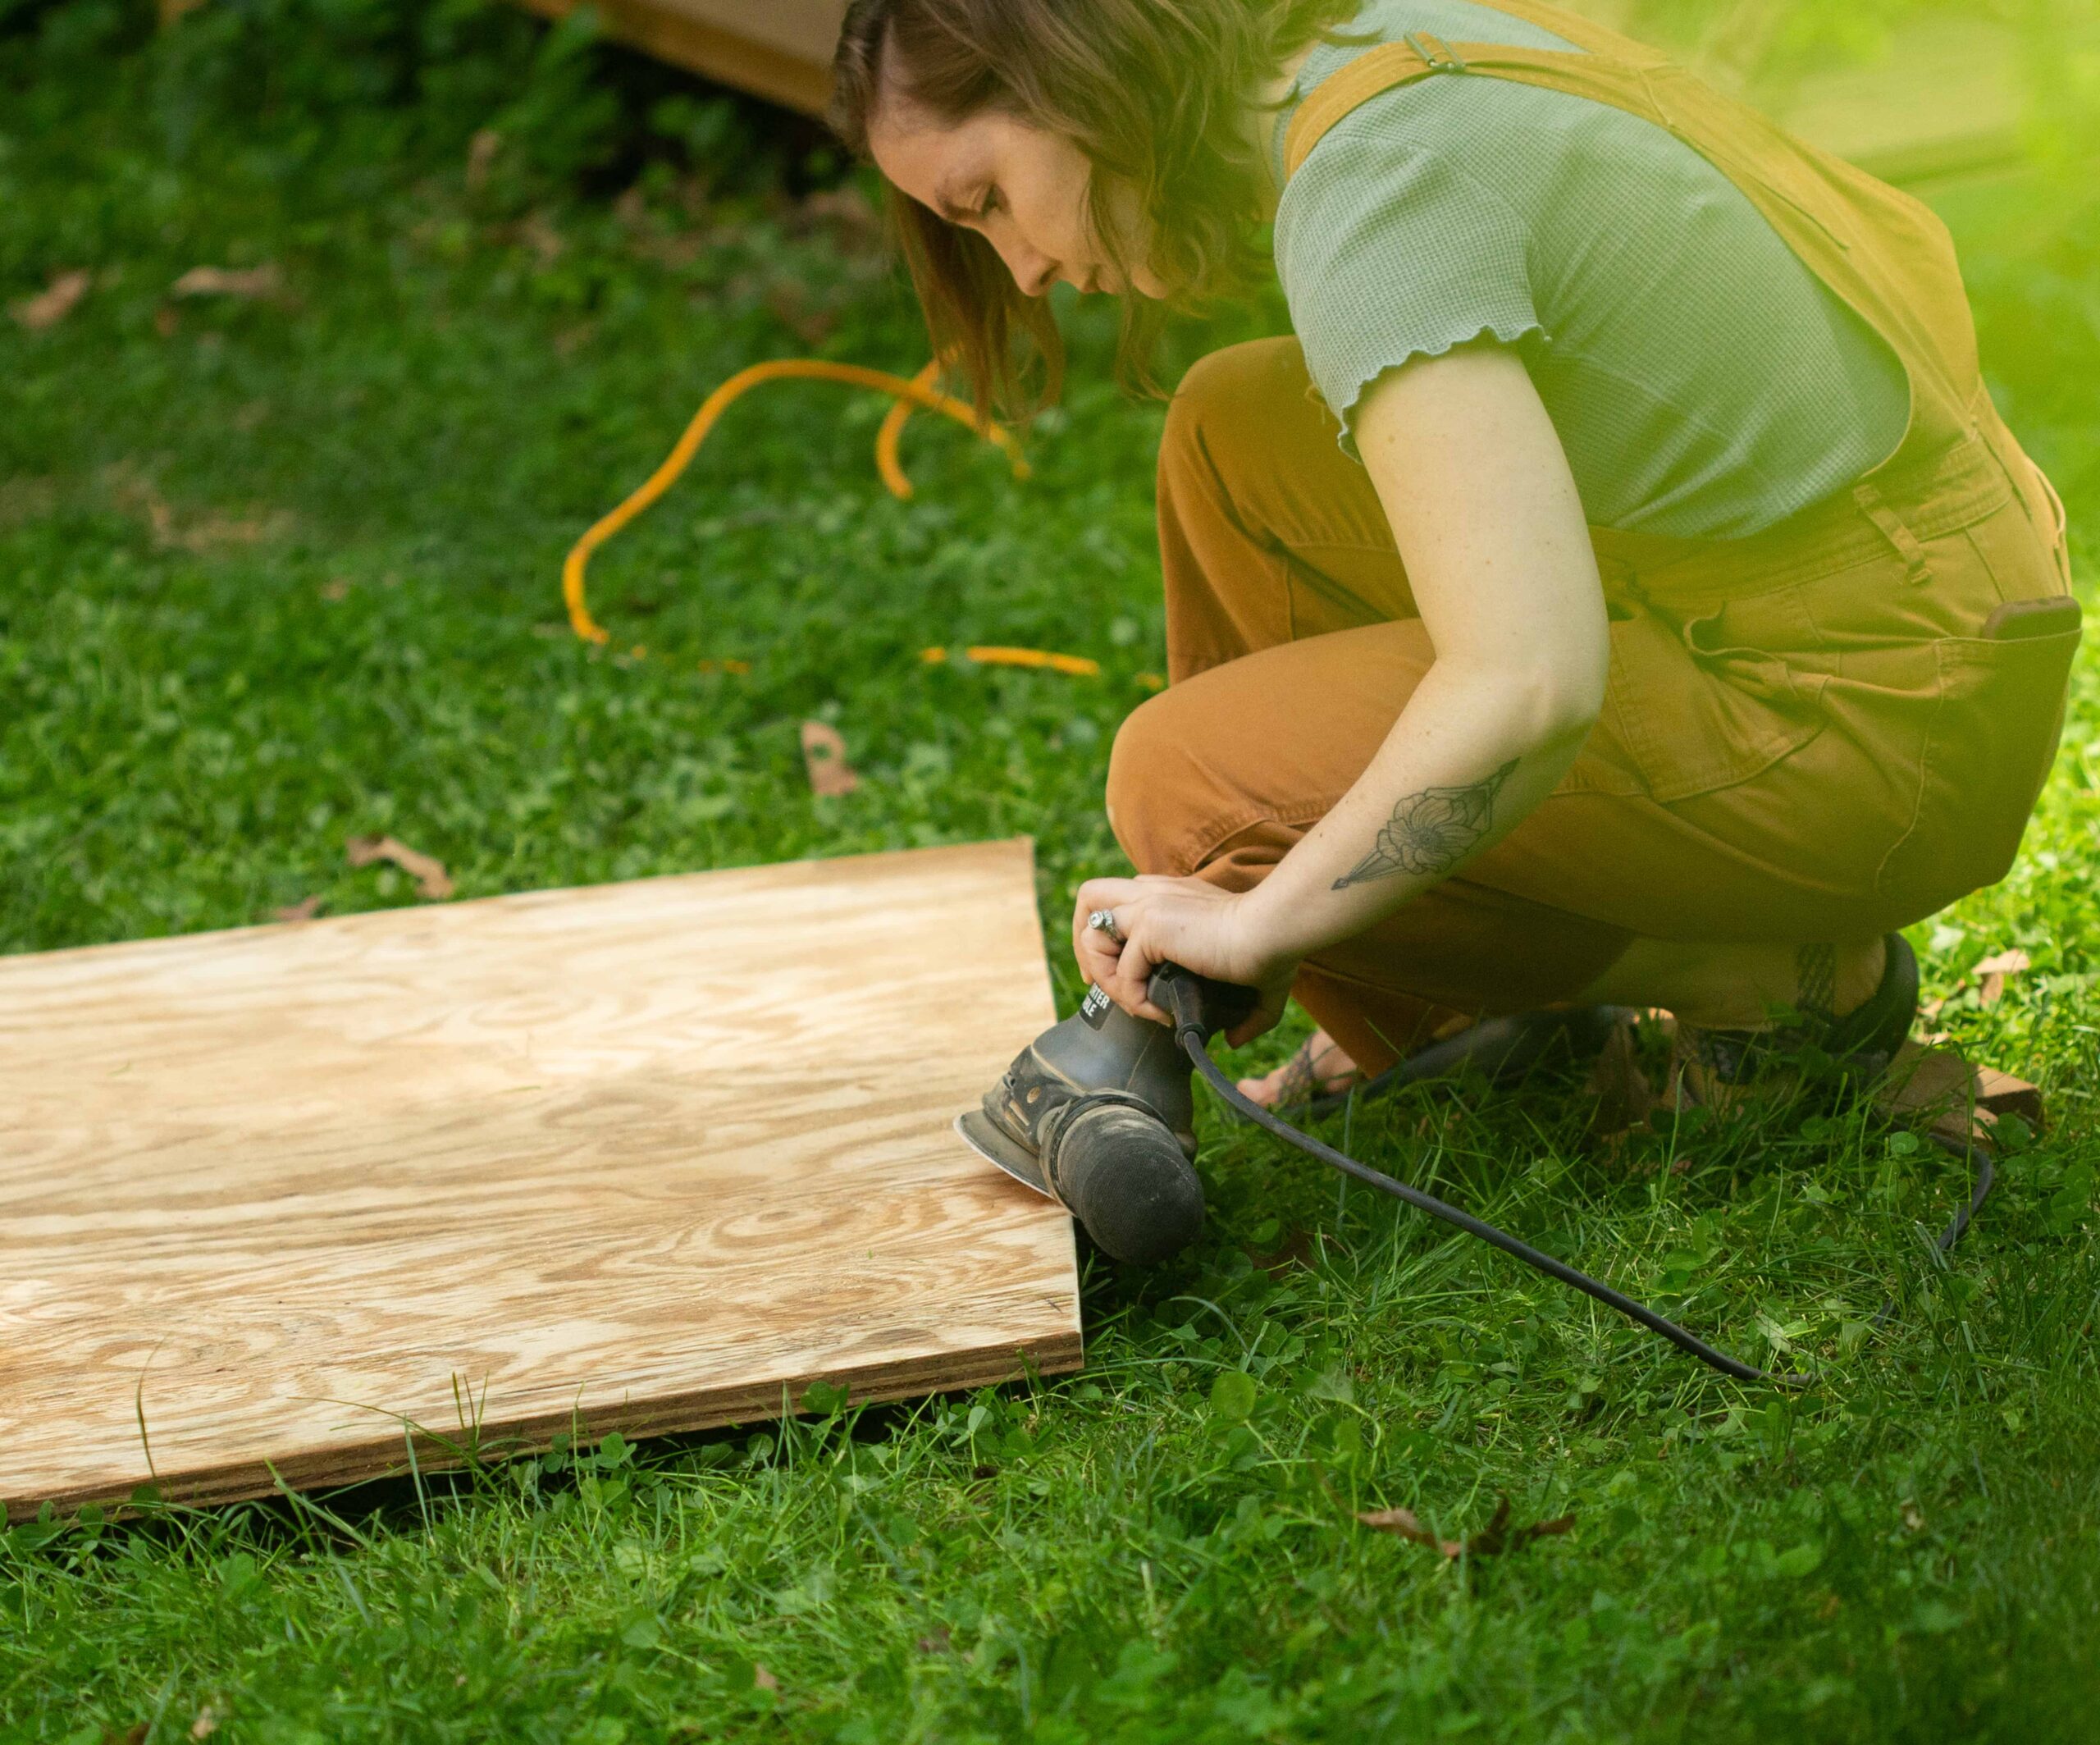
Power sander– you could get away with sanding these by hand but you will really hate making them. Even with a power sander I had to do it in stages and got exhausted after about 15 blocks. It just takes a lot of time getting the edges smooth enough. Don’t give up though! You could still do it- just give yourself the time. Or you could invest like $30 in a power sander and use it for a ton of other projects…
Wood sealer (shop small with this link)
Now if you want to make a base/box for them to go in you will need:
One 2x1x8 board (we used furring strips)
Sheet of plywood
Finishing nails (we just used nails for hanging up pictures)
Wood glue
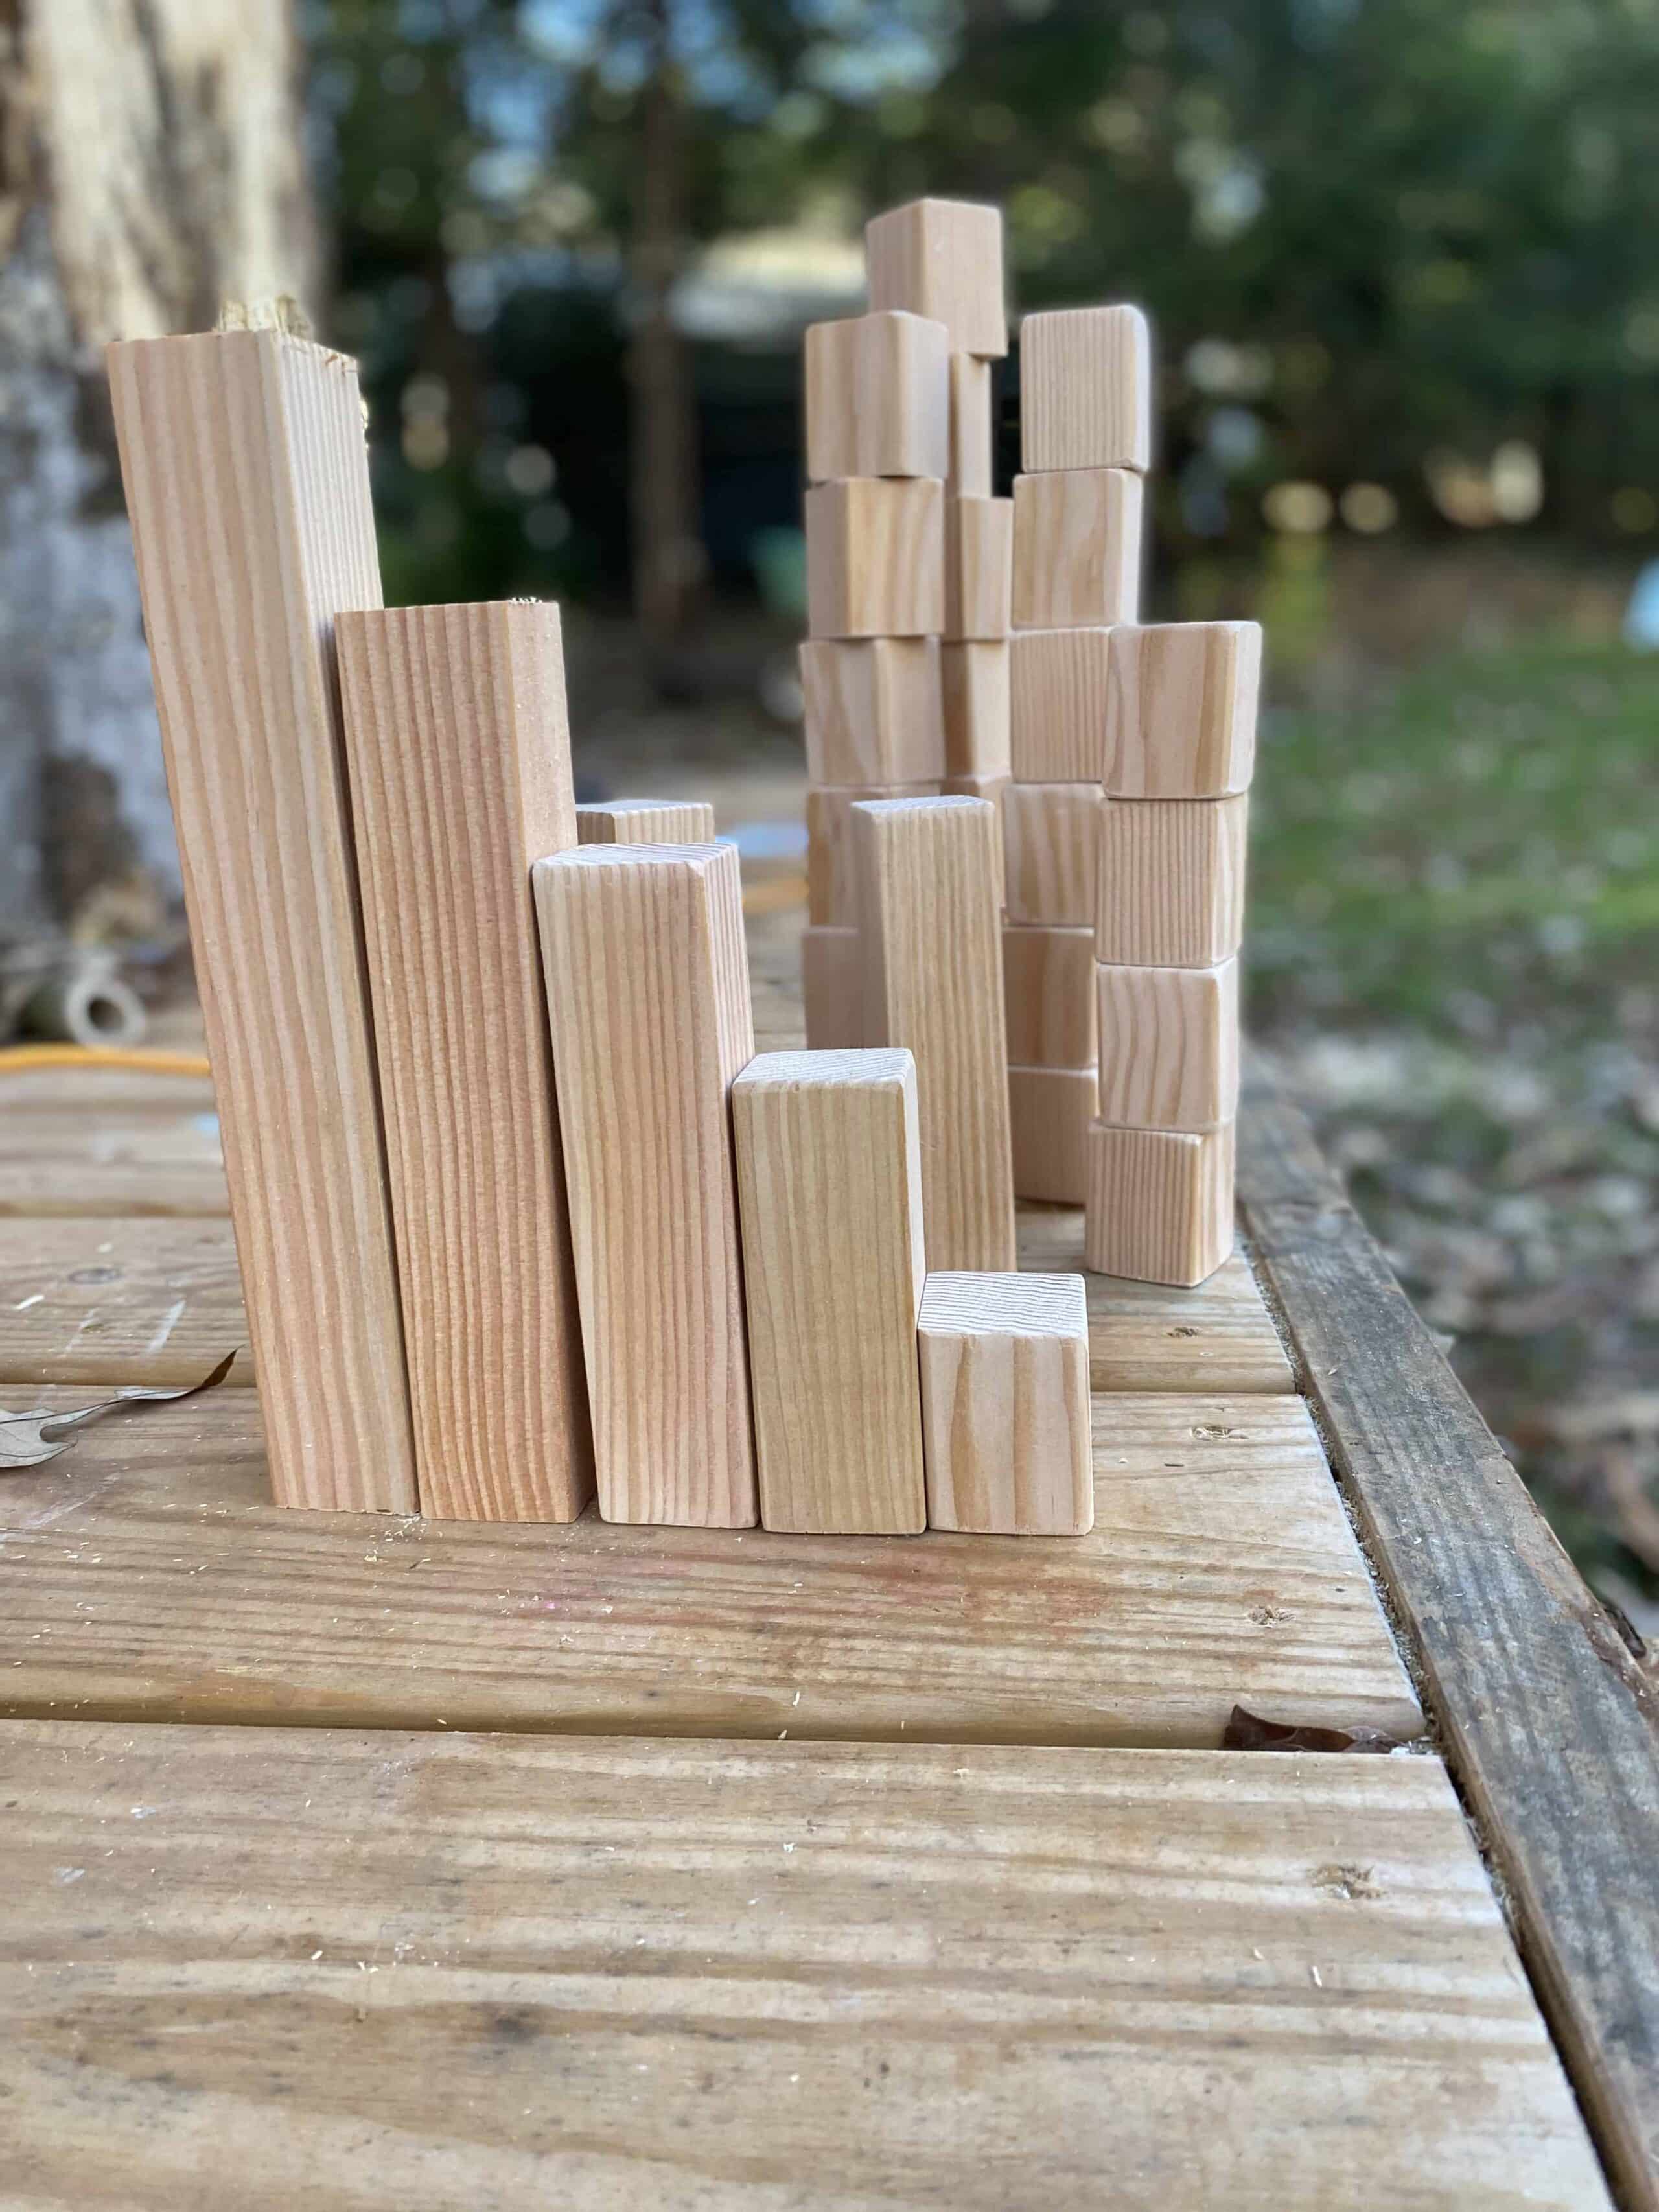
So, if you are new to wood working like I am, let me be the one to tell you that the measurements of the boards are never exactly what they say they are. Meaning that your 2x2x8 will probably be more like 1.75×1.75. I’m mathematically lazy and didn’t want to calculate all the cuts I would need to make perfect cubes as I measured so I just made my smallest blocks little rectangles. That means that my LSP is actually taller overall than the original one but I am totally okay with that. If you aren’t you can find the other measurements of the LSP and stick to those. Mine are easy peasy and won’t give you a headache.
Here are the cuts:
36 blocks at 2″
28 blocks at 4″
20 blocks at 6″
12 blocks at 8″
4 blocks at 10″
I just increased by 2″ for each step and it was so easy to measure and keep track of. It adds up though, the traditional Grimms blocks have their tallest ones at 8″ and mine ended up being 10″. You do whatever works best for you but sometimes it’s nice to just keep it simple and call it good. You still get the same pyramid shape too and I cannot wait to see the epic towers that my little ones build with these blocks!
Watch the video to make your own Grimm's inspired Large Stepped Pyramid
Like it? Share it!
